
Last updated November 15, 2026
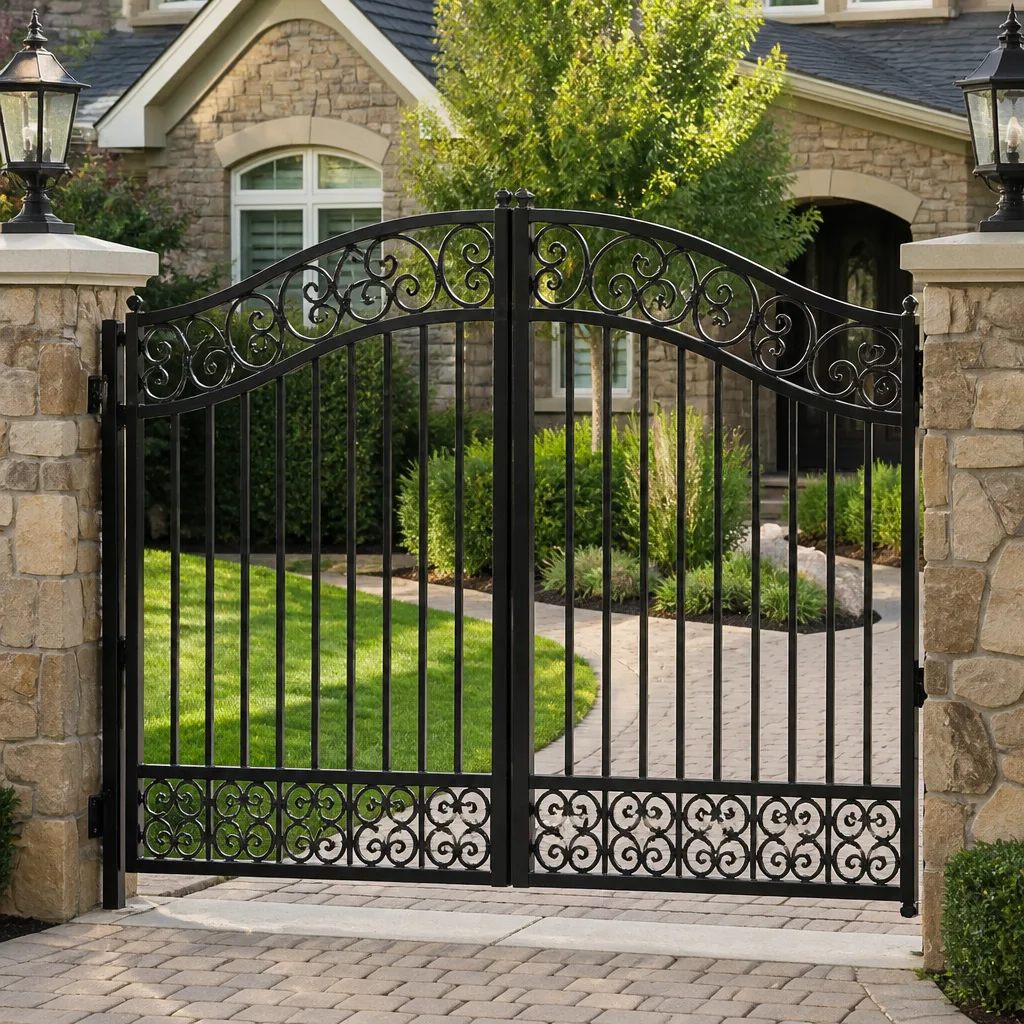 Wrought iron
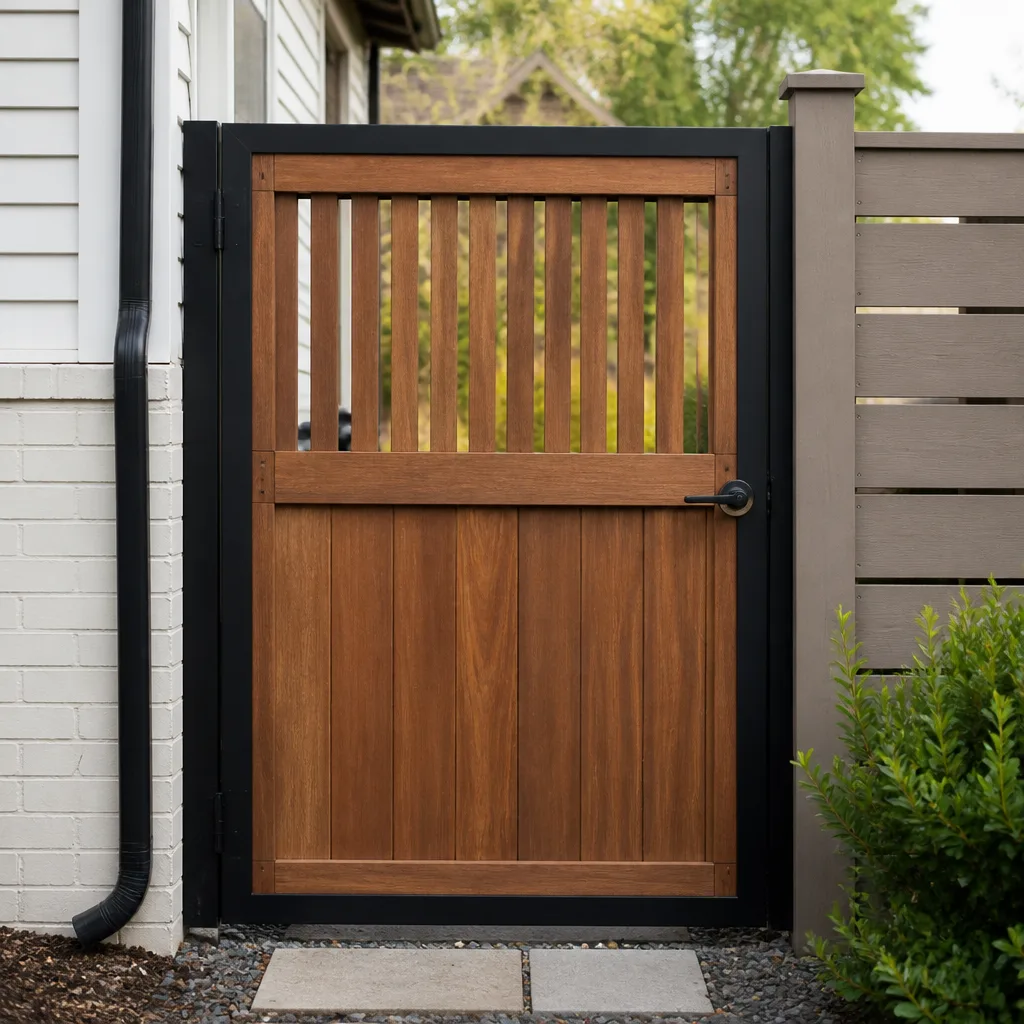 Wood & steel frame
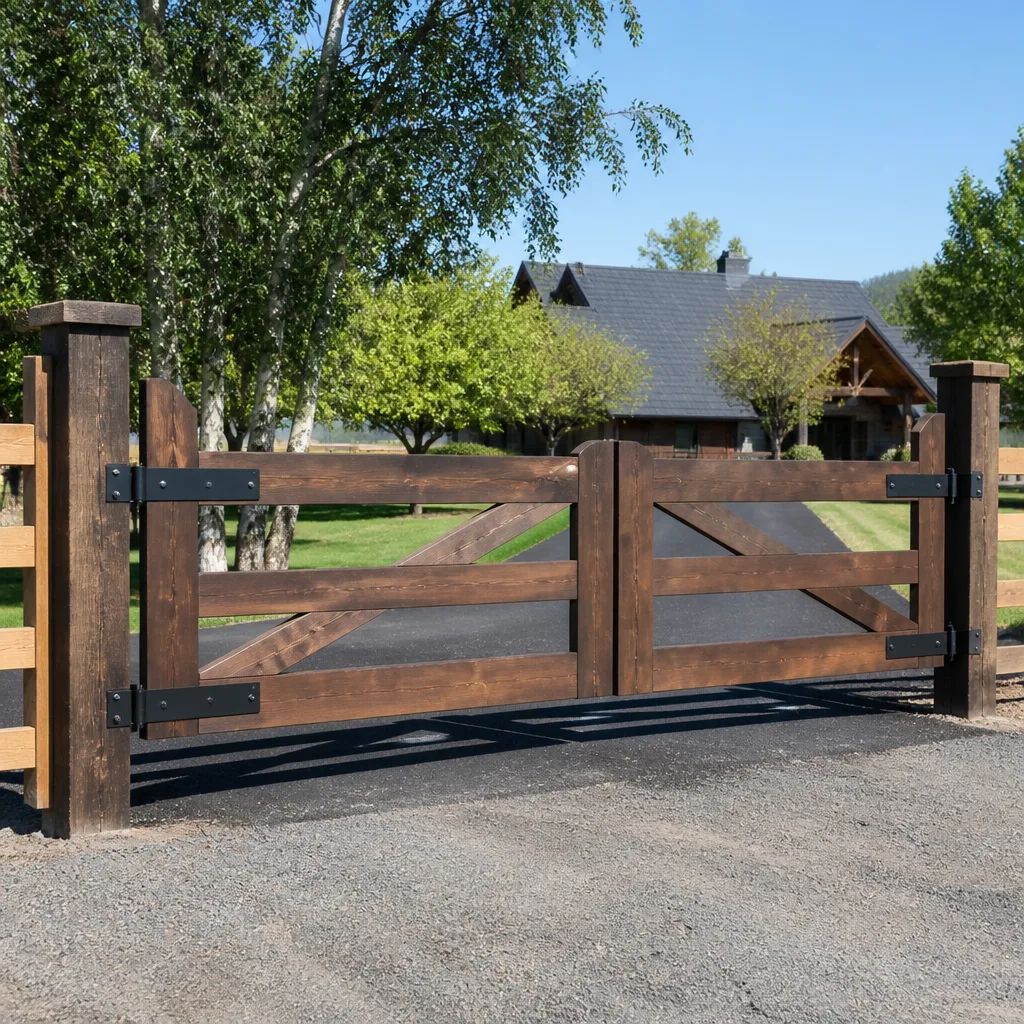 Farm & ranch
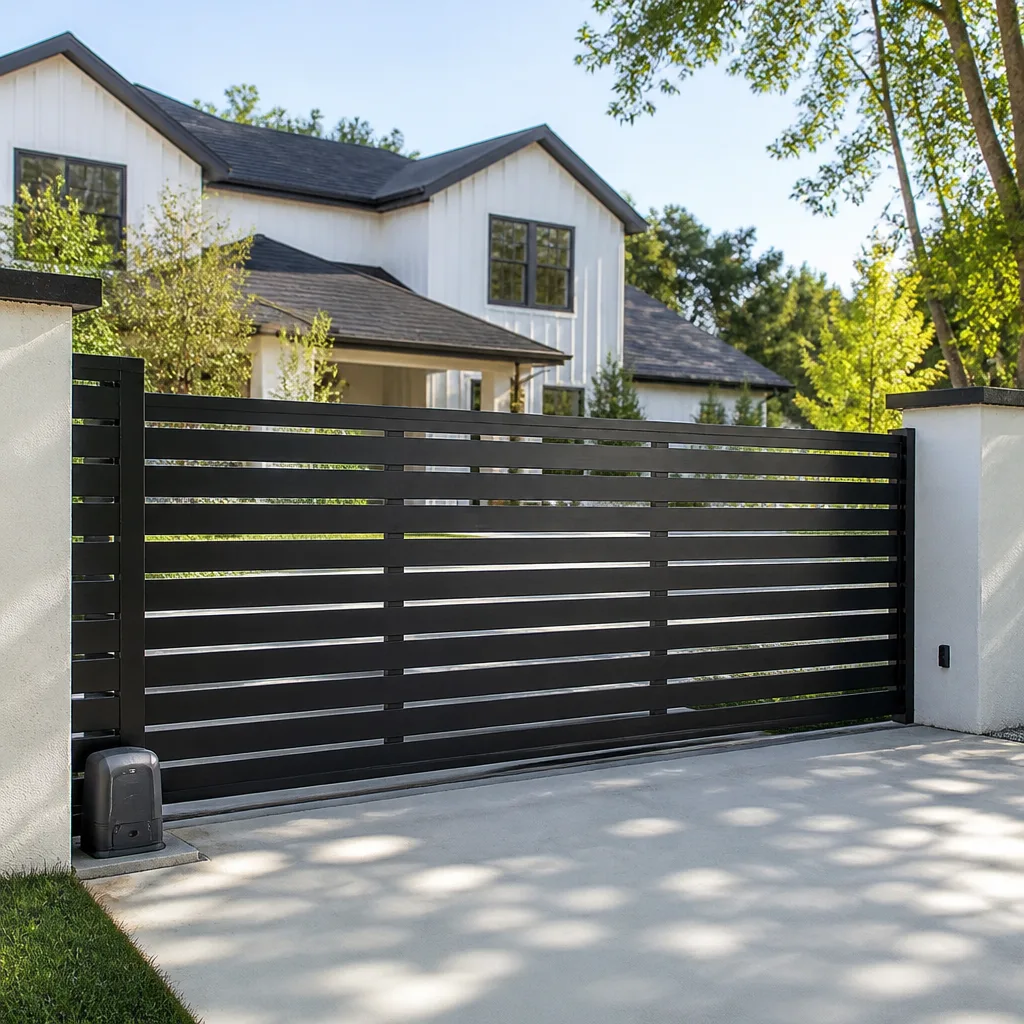 Sliding driveway gates
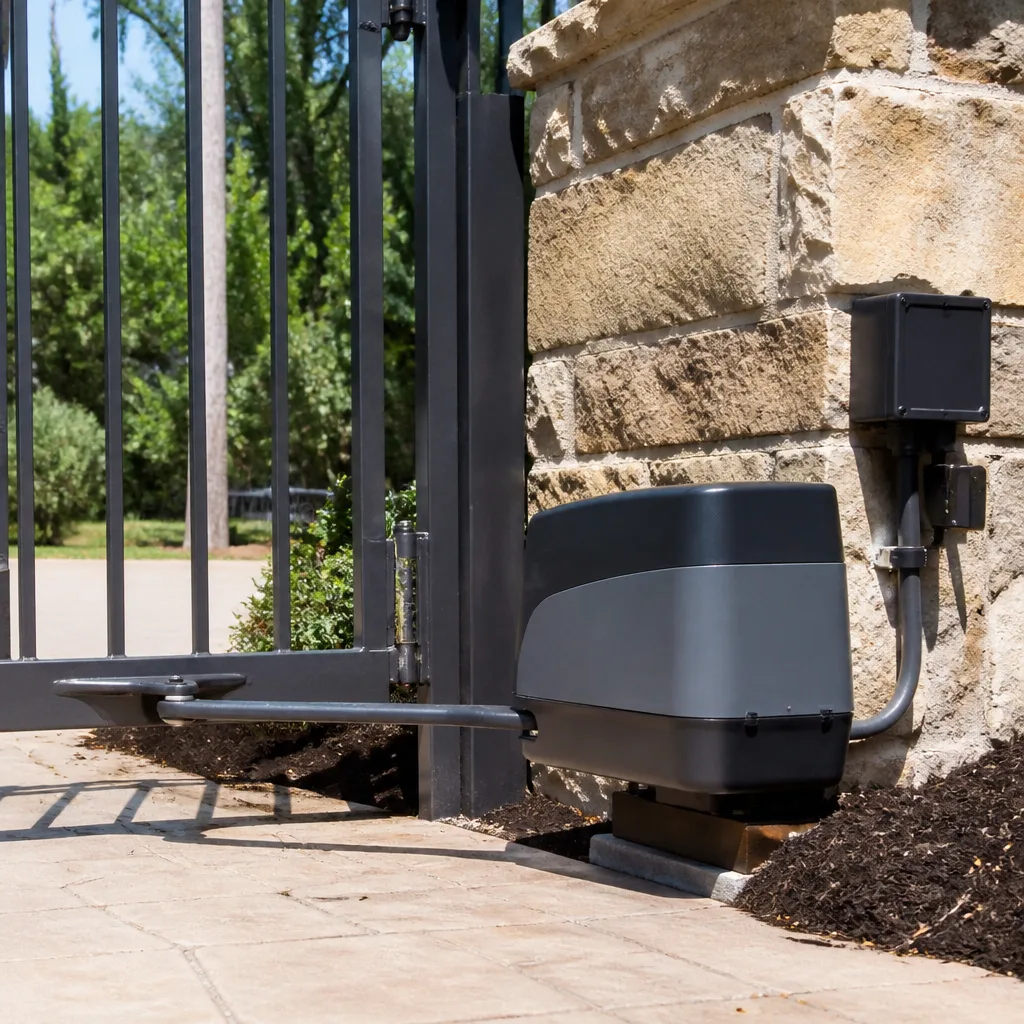 LiftMaster operators
Free on-site gate assessment - hinges, posts, and your LiftMaster or Nice gate operator checked before anything is quoted
The assessment is free and the quote is the invoice.
Get your free estimateGate Repair Warning Signs: A Roseville Homeowner’s Reference Guide
A gate that hesitates for half a second before it moves is doing the electrical equivalent of flashing a check-engine light. Most homeowners hear that pause, shrug, and keep driving. Weeks later the same gate stops dead in the open position, and the repair has grown from a small component swap into a motor or control-board job. The gap between a modest fix and a serious one almost always comes down to how early someone caught the warning sign. That’s what this guide is for. We’ll walk through the sounds, the visual clues on the frame, the control-panel codes, and the tricky intermittent failures, so you can read your gate system instead of just reacting when it quits. Roseville homeowners deal with the same handful of patterns over and over, and once you know them, they’re hard to miss.
Quick Answer
The earliest warning signs of gate trouble are a half-second hesitation before movement, new grinding or humming sounds, a widening hinge gap, rust streaks along the bottom rail, and a control board flashing a fault code. An intermittent gate that works sometimes is more urgent than one that won’t move at all, because the fault is active and unpredictable. Catching any of these in the first couple weeks usually keeps the repair on the mechanical side, well before the operator takes damage.
Styles & brands we work with
- Wrought iron
- Wood & steel frame
- Farm & ranch
- Sliding driveway gates
- LiftMaster operators
Table of Contents
- Why You Should Learn to Read Your Gate, Not Just React to Failure
- The Four Sounds That Point to Specific Mechanical Failures
- Visual Warning Signs on the Gate Frame Itself
- Control Panel Indicator Lights on Common Roseville Operators
- Why Intermittent Operation Is More Urgent Than a Dead Gate
- Mechanical, Electrical, or Access Control: Which Side Is the Problem?
- A Monthly Five-Minute Check for Roseville Gates
Why You Should Learn to Read Your Gate, Not Just React to Failure
Gate systems rarely fail without warning. They telegraph trouble for weeks, sometimes months, through small changes in sound and motion. A manual gate that suddenly needs a shoulder to close, an automatic gate whose arm lags on the return swing, a hinge that creaks only on warm afternoons: these are all messages. The problem is that most people only pay attention once the gate has already failed, and by then the damage has often spread from a cheap part to an expensive one.
Think about what physically happens inside an automatic driveway gate. The operator pushes or pulls a heavy steel or wood panel along hinges or a track. Every bit of friction, every loose fastener, every wobbly post adds resistance the motor has to fight. That resistance shows up first as sound and hesitation, then as heat in the motor, and finally as a blown control board or a stripped gear. The motor is doing its best to tell you. Your job is to listen.
In Roseville, we see this pattern play out across neighborhoods like Fiddyment Farm and West Park, where gates sit in full afternoon sun for much of the year. Heat is hard on motors and control boards, and it quietly accelerates the wear that produces these early warning signs. A gate in the shade might run for years with a dragging hinge before anything fails. The same gate in direct summer sun often doesn’t get that grace period. Reading the warning signs early matters more here than in cooler parts of the country.
The good news is you don’t need to be a technician to spot most of it. You need to know what to listen for, what to look at, and when a warning sign belongs to the mechanical side versus the electrical or access-control side. That’s the rest of this guide.
The Four Sounds That Point to Specific Mechanical Failures
Sound is the fastest diagnostic tool you have. Each distinct noise type tends to trace back to a particular family of problems, and knowing which is which helps you describe the issue clearly when you call. Here’s how we break them down.
Grinding
Grinding usually means metal is contacting metal where it shouldn’t. Common sources are worn hinge bushings, a chain or track that has lost lubrication and is binding, or debris caught in the gate’s path. A grinding gate is telling you friction is climbing, which puts a growing load on the operator motor. Left alone, grinding turns into a stripped gear or a burned-out drive assembly.
Clicking
A rhythmic click, especially just before the gate moves or just as it finishes, often points to a relay or contactor inside the control box trying to engage. Clicking that repeats without the gate moving usually means the operator is receiving the command but the motor isn’t responding, or a limit switch is out of adjustment. On a manual gate, clicking near a hinge can indicate a failing bearing.
Chattering
Chattering is a rapid, stuttering noise, and it’s one of the more urgent sounds. It often means the motor is getting intermittent power, the drive is slipping, or the control board is cycling a command. Chattering that appears on a LiftMaster or Linear operator is worth a same-day call. It tends to precede a hard failure, sometimes within days.
Humming Without Movement
If the operator hums but the gate doesn’t move, the motor is receiving power and trying to run, but something is stopping it. That could be a seized hinge, a jammed track, a failed capacitor, or a mechanical bind in the drive. This is the sound that most often ends in a burned motor if it’s repeated, because a stalled motor draws heavy current and heats up fast. Stop running the gate and get it looked at.
If you hear any of these and can’t tell which one you’re dealing with, that’s fine. A technician can identify it on-site in a few minutes. What matters is that you noticed it before the gate stopped entirely.
Visual Warning Signs on the Gate Frame Itself
Before an operator ever fails, the gate frame usually shows it. These are the structural clues to check, and they’re the ones most homeowners walk past every day without seeing.
- Rust patterns along the bottom rail. Surface rust is cosmetic, but bubbling paint, flaking metal, or rust streaks that run upward from a weld point often mean moisture is sitting inside the tube. In Roseville’s dry summers, the culprit is usually irrigation overspray or a sprinkler hitting the same spot every morning, not rain.
- Widening hinge gaps. Look at the gap between the gate panel and the post at each hinge. If one gap is visibly wider than the others, or wider than it was last season, the hinge is wearing or the post has shifted. A loose hinge puts the whole panel out of square, and an out-of-square panel fights the operator on every cycle.
- Sagging. Open the gate partway and look at the leading edge (the free end). If it drops below horizontal, the frame or post is settling. Sagging is the single most common structural sign that precedes operator damage, because the motor has to lift the panel to close it.
- Loose or missing bolts. Wiggle the hinges and the operator mounting bracket by hand. Any movement means fasteners have loosened or the metal has started to crack.
- Post movement. Push the post near the base. It should not move at all. Even slight rocking means the footing is losing grip, which is a structural issue, not a motor one.
Roseville’s soil is heavy clay in many parts of town, and clay swells and shrinks with the seasons. Posts set in clay can shift gradually over time, taking the gate out of plumb with them. That’s a structural repair, and it needs to happen before you replace an operator that’s failing because the gate is fighting it.
Control Panel Indicator Lights on Common Roseville Operators
On an automatic gate, the control board is a small computer, and its indicator lights are its language. Lights that blink in patterns are usually reporting a fault code. Lights that stay solid are usually reporting a state, like “power on” or “limit reached.” Knowing which is which helps you tell a technician what the board is saying.
We work with operators from a wide spread of brands, and three of the most common you’ll find on Roseville driveways are LiftMaster, Linear, and DoorKing. Here’s the general way to read their boards.
Step-by-step: reading the control panel
- Locate the control box, usually on the inside of the gate post or wall near the operator.
- Open the cover and find the small LED indicators on the board.
- Note which lights are on, which are off, and which are blinking.
- Count the blink pattern if the light is flashing: two blinks, pause, two blinks usually means one code, while three blinks, pause, three blinks means a different one.
- Write the pattern down exactly as you see it. This is the single most useful thing you can tell a technician.
- Look up the code in the operator’s manual, which usually has a fault-code chart on the last few pages.
On LiftMaster boards, a blinking light often points to an obstruction, a limit-switch issue, or a photo-eye fault. Linear boards tend to report radio-receiver or motor-fault codes. DoorKing boards, which are common on commercial and gated-community installations, often report access-control faults or a lost loop signal. The exact code varies by model, so the manual is your reference. If you don’t have the manual, snap a photo of the board and the light pattern, and a technician can map it from there.
If you don’t want to open the box yourself, that’s the right instinct. A low-voltage control board is not dangerous the way a household electrical panel is, but there’s still line voltage running into the operator, and a wrong tool in the wrong place can cost you a board. Reading the lights through the cover window if there is one, or simply noting the blink pattern when you cycle the gate, gives a technician plenty to work with.
Why Intermittent Operation Is More Urgent Than a Dead Gate
This is the counterintuitive part of gate diagnostics, and it’s the one that costs homeowners the most. A gate that fails totally is annoying, but it’s also predictable. You know it’s broken, you call someone, and the fix follows a clear path. A gate that works nine times out of ten and fails on the tenth is a much bigger problem, because the fault is active but hidden. It won’t show itself on demand, so it can’t be diagnosed the same way.
Intermittent gate behavior usually traces back to one of a few active faults:
- A loose connection that only breaks contact when the gate shakes a certain way
- A temperature-sensitive component that acts up in the heat of the afternoon but works fine in the morning
- A failing safety sensor (photo-eye) that only trips when sunlight hits it at a certain angle, or when a spider web crosses the beam
- A limit switch that’s drifting, so the gate sometimes overruns its stop point and refuses to reverse
- A radio receiver that sometimes drops the remote signal, especially with weak batteries or interference
Each of these can fail silently for weeks and then leave the gate stuck in the open position at the worst possible moment, often with a car on the wrong side. Intermittent faults can also damage the operator over time because the system is cycling unevenly. When a Roseville homeowner calls us about a gate that “sometimes” won’t close, we treat it with more urgency than a stuck gate, not less.
If your gate is intermittent, keep a simple log. Note the date, the time of day, the weather, and what the gate did. Patterns emerge fast, and a technician who sees the pattern can usually narrow down the fault in one visit instead of three.
Mechanical, Electrical, or Access Control: Which Side Is the Problem?
Every gate problem belongs to one of three categories, and the right fix depends on knowing which one. This is where generalist handymen often go wrong: they treat an access-control issue as an operator fault, or a mechanical bind as an electrical problem, and the gate keeps failing. Here’s how to sort it.
The mechanical side
Mechanical problems live in the gate itself: hinges, wheels, tracks, the frame, the posts, and the physical drive of the operator. Signs include sagging, grinding, dragging, a gate that’s hard to move by hand, and physical damage. A mechanical problem requires fixing the gate hardware before touching the operator. If a gate won’t move freely by hand, no motor is going to fix it.
The electrical side
Electrical problems live in the operator motor, the wiring, the power supply, and the control board. Signs include humming without movement, dead operator, blown fuses, and fault codes that point to motor or power. electric gate repair is a specialist discipline because the wiring, control boards, receivers, and motor assemblies all have to be diagnosed as a system, not piecemeal. This is the kind of work we handle routinely rather than escalating.
The access control side
Access-control problems live in how the gate is triggered: the keypad, the remote, the intercom, the vehicle loop, and the receiver. Signs include a gate that opens from the keypad but not the remote, a gate that stops responding to one vehicle but not another, or a gate that runs on its own at odd hours. Access-control faults often look like operator faults, which is why brand-fluent diagnosis matters. Whether the system runs on LiftMaster, FAAC, BFT, or Linear hardware, the diagnosis follows the brand’s own logic rather than a generic guess.
There’s overlap, of course. A gate can have a mechanical bind and a failing photo-eye at the same time. That’s why a proper diagnosis looks at all three sides, not just the one that seems obvious.
A Monthly Five-Minute Check for Roseville Gates
You don’t need tools for this. A five-minute check once a month catches most warning signs while they’re still small.
- Open the gate by hand (if it’s a manual gate) or cycle it once with the operator (if automatic) and listen for anything new.
- Sight down the leading edge of the gate. Does it hang level with the post? Any sag at the free end?
- Wiggle each hinge and the operator mounting bracket. Any movement means loose fasteners or a worn bushing.
- Look at the bottom rail for bubbling paint, rust streaks, or flaking metal.
- Push each post near the base. No movement at all is what you want.
- Clean the photo-eye lenses with a soft cloth and check that the alignment light on each is on.
- Watch the control-panel indicator lights through one full open-and-close cycle and note any blinking.
If everything checks out, you’re done for the month. If anything feels off, that’s your signal to book a gate repair visit before it grows. This routine takes less time than a cup of coffee, and it’s the cheapest repair you’ll ever do.
Common Mistakes to Avoid
- Ignoring the half-second hesitation. That pause is the most reliable early sign of operator strain, and it’s also the cheapest to fix. Wait until the gate stops entirely and you may be replacing a motor instead of a worn part.
- Treating every problem as the operator’s fault. A dragging gate with a sagging hinge will keep burning through motors until the structural issue is fixed. Diagnose the gate first, then the operator.
- Greasing a grinding hinge instead of investigating. Lubrication hides the symptom for a while but doesn’t fix a worn bushing. Grinding that comes back after greasing is a structural warning.
- Repeatedly running a gate that hums without moving. Every cycle of a stalled motor generates heat that damages the windings. Stop cycling and let a technician look at it.
- Assuming an intermittent gate is “just a battery” or “just a remote.” Intermittent faults are often active electrical problems that cause more damage the longer they’re left. The remote is the easiest thing to check, but it’s not always the culprit.
- Letting irrigation overspray hit the gate every morning. Roseville’s dry-season watering systems are one of the most common sources of premature rust on gate frames. Aim the sprinkler away from the gate and the post footings.
- Never reading the fault codes. A blinking light on the control board is a message. Writing down or photographing the blink pattern is the single fastest way to get an accurate diagnosis.
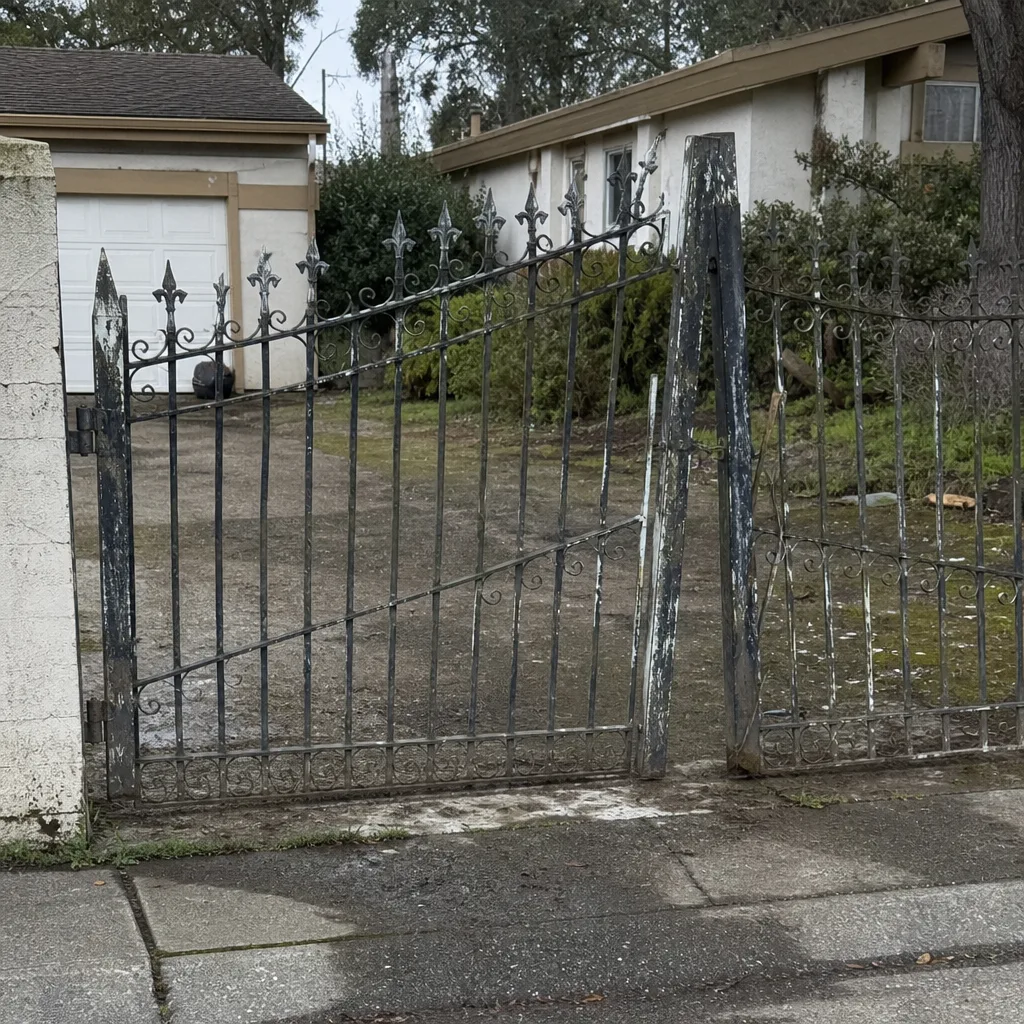
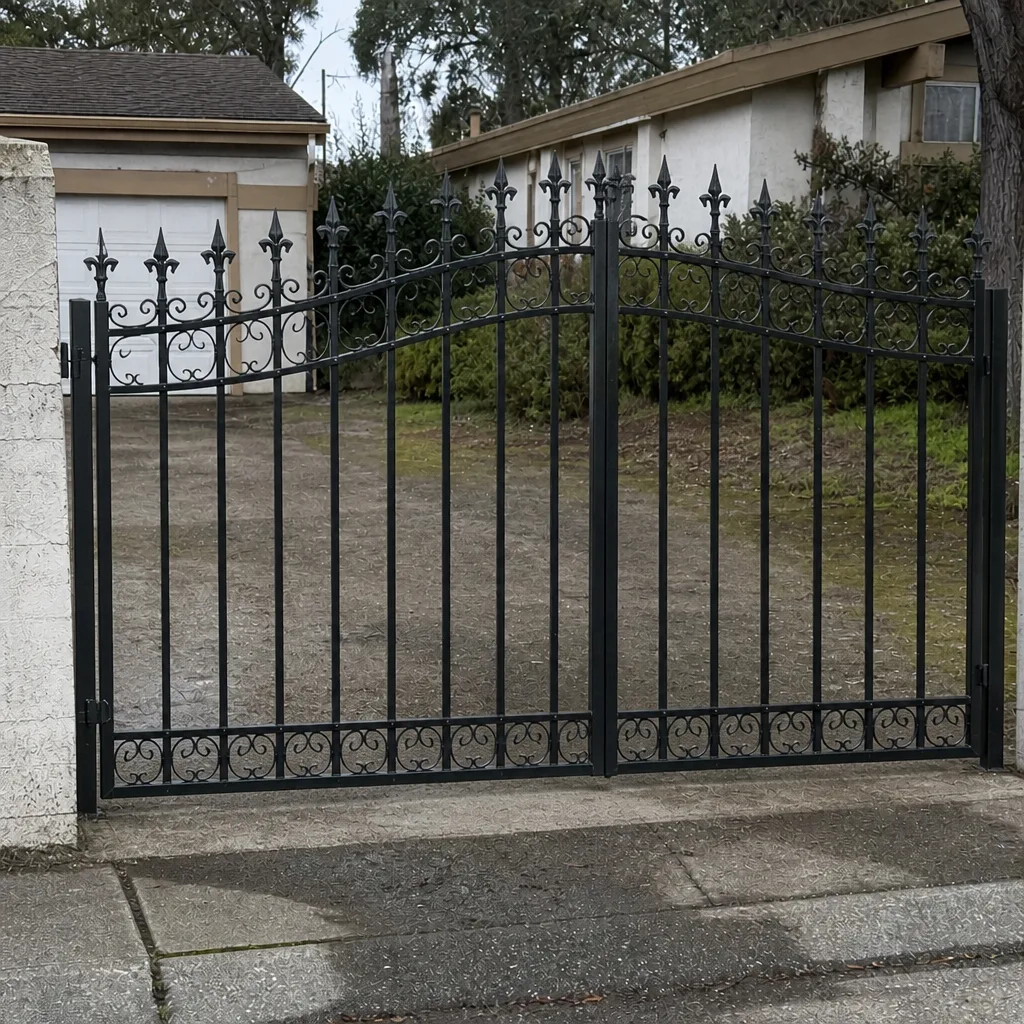
See the difference
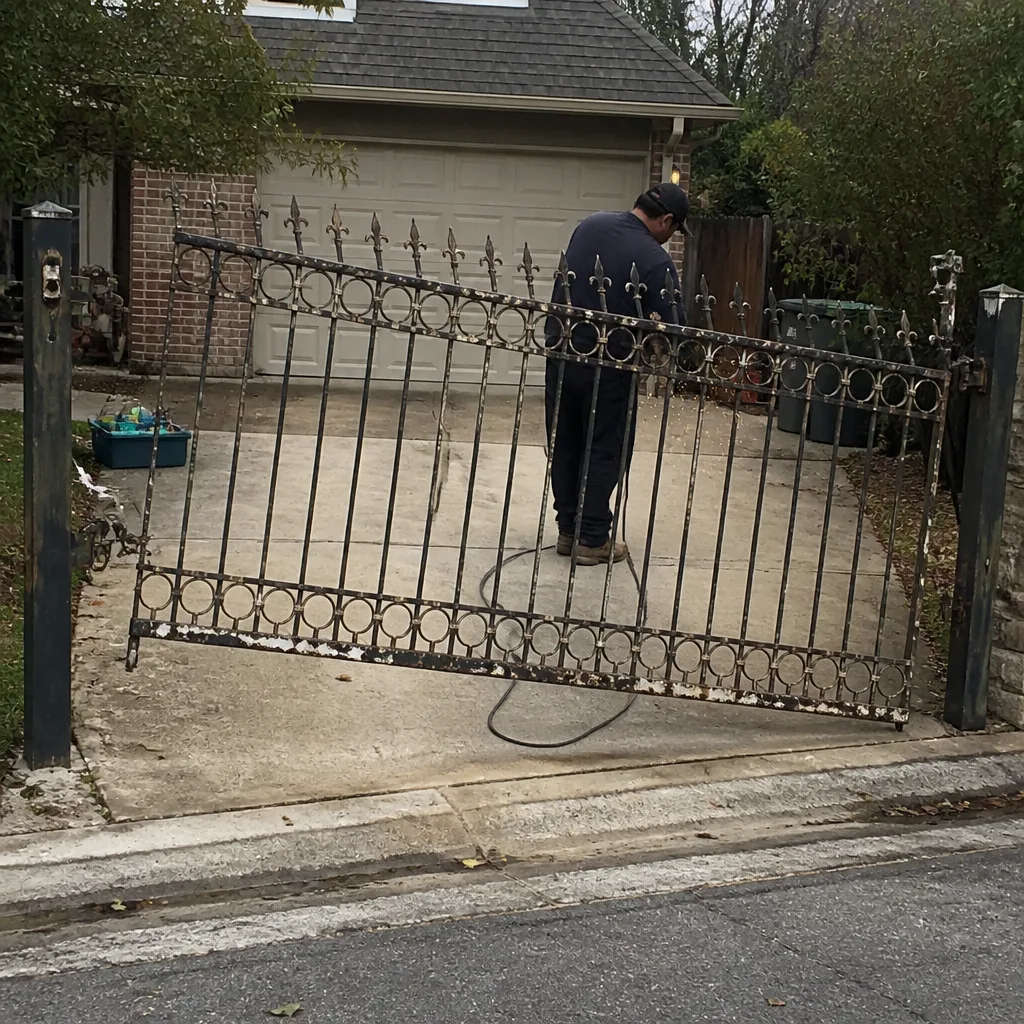 Before
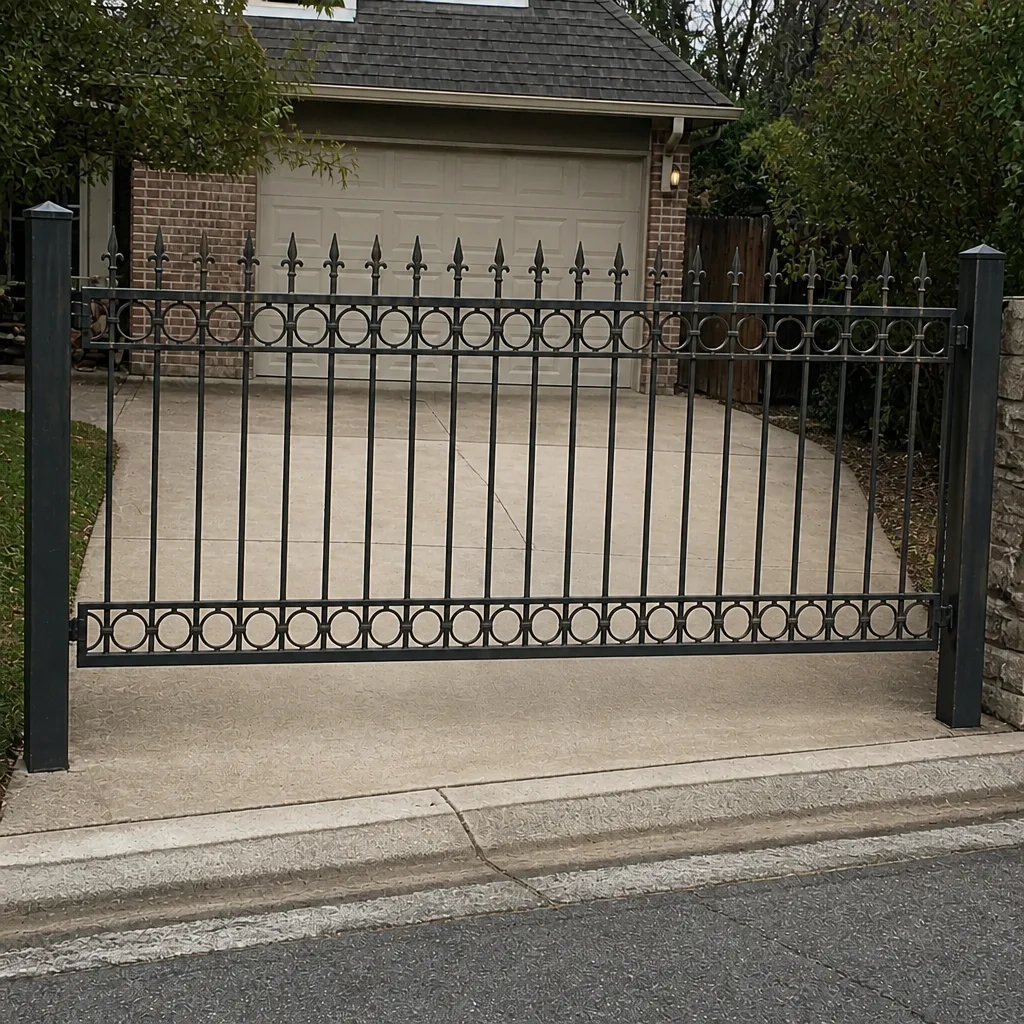 After
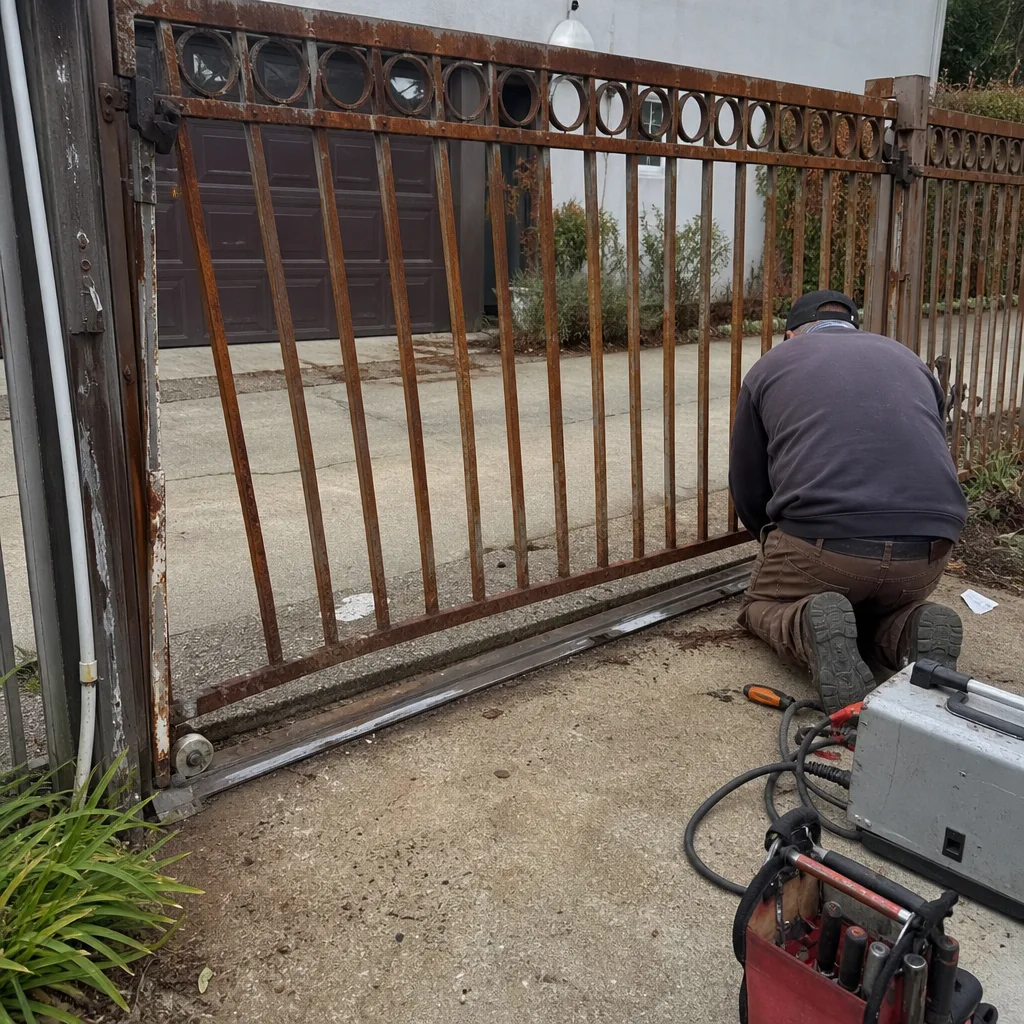 Before
 After
 Before
 After
When to Call a Professional
Call a specialist when you hear chattering or humming without movement, when your gate sags or the post rocks, when a control-panel light is blinking a code you can’t identify, or when intermittent faults won’t settle down. Also call if the gate fails to reverse on obstruction: that’s a safety issue, not just a convenience issue. Electric gate systems run line voltage into the operator, and a wrong tool in the wrong place can damage the board or, worse, cause a shock. A trained professional should handle anything inside the control box, the wiring run, and the motor assembly.
Gate Repair Roseville offers free estimates in Roseville. Call (855) 431-0356. We answer 24/7. Fast dispatch from 7am to 7pm, Sunday through Friday. Our technicians have up to 15 years of experience, and we work on LiftMaster, FAAC, BFT, Linear, Viking, Ghost Controls, DoorKing, Elite, and Mighty Mule systems. If a Roseville gate is showing warning signs, we’ll read them properly the first time.
Frequently Asked Questions
The most common warning sign we see in Roseville is a gate that hesitates or lags slightly before it starts moving. That pause usually means resistance has built up in the hinges, track, or post, and the operator is fighting it. It’s the earliest and cheapest sign to act on. Call (855) 431-0356 for a free estimate.
Gate repair in Roseville is priced per job by a written estimate, and the final price is set once we’ve looked at the gate. We don’t quote over the phone because the range depends on which side of the system the fault is on: a worn hinge is a different job than a control board replacement. The estimate is free and the price is agreed before any work starts. Call (855) 431-0356 for your written quote.
In many cases yes, and we offer same-day service when the schedule allows. Call (855) 431-0356. We answer 24/7. Fast dispatch from 7am to 7pm, Sunday through Friday. If you’re calling outside dispatch hours, we’ll book you into the next opening.
Yes, and we treat intermittency with more urgency than a gate that simply won’t move. Intermittent faults are active electrical or access-control problems that can fail unpredictably and damage the operator over time. Keep a log of when it happens, what it does, and the weather. Call (855) 431-0356 for a free estimate.
We work on your brand, as long as it’s one of the nine we service: LiftMaster, FAAC, BFT, Linear, Viking, Ghost Controls, DoorKing, Elite, and Mighty Mule. Our technicians diagnose by brand-specific logic, not guesswork, and we’re not tied to any proprietary system. Call (855) 431-0356 with the brand and model.
Yes. Sagging points to a structural issue in the frame or post, and we handle that as part of the same job. Fixing the sag before it damages the operator is usually the cheapest path. Gate repair in Roseville is a core service for us, from hinges and posts to full Roseville installation. Call (855) 431-0356 for a free estimate.
The Bottom Line
A gate tells you what’s wrong long before it stops moving. The hesitation, the new sound, the widening hinge gap, the blinking light on the control board, the intermittent failure: each is a message, and each is cheap to answer early and expensive to ignore. Roseville’s heat and clay soil put gates under specific pressure, so reading the signs matters here as much as anywhere. If you notice any of them, don’t wait for a hard failure. Call a specialist who works on gates as their trade, not as a side job. The right fix for your existing system is always the goal, and a free estimate is the fastest way to know what you’re facing.
Call (855) 431-0356 for a free estimate. We answer 24/7. Fast dispatch from 7am to 7pm, Sunday through Friday.
For our full range of services across the Roseville area, starting with Gate Repair Roseville, we’re ready to help.
Written by the team at Gate Repair Roseville.