
Last updated November 15, 2026
 Wrought iron
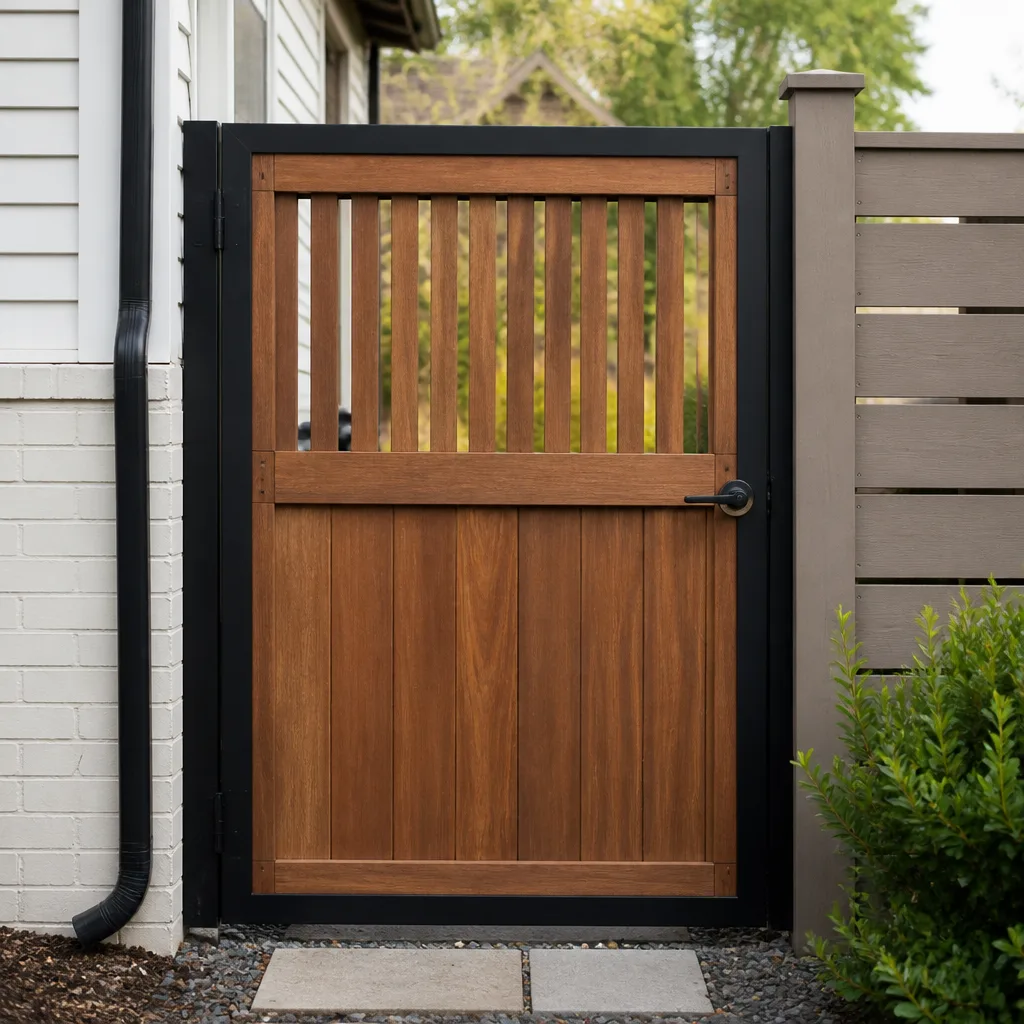 Wood & steel frame
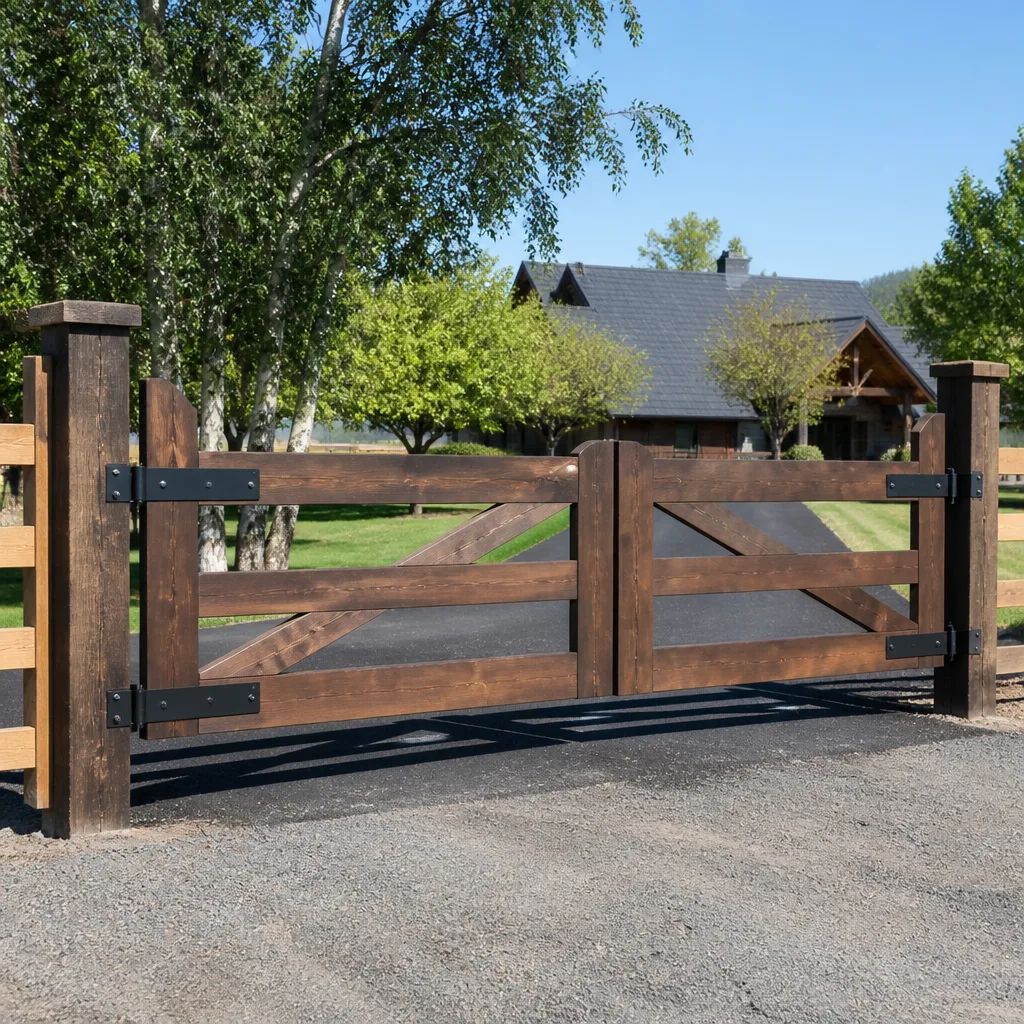 Farm & ranch
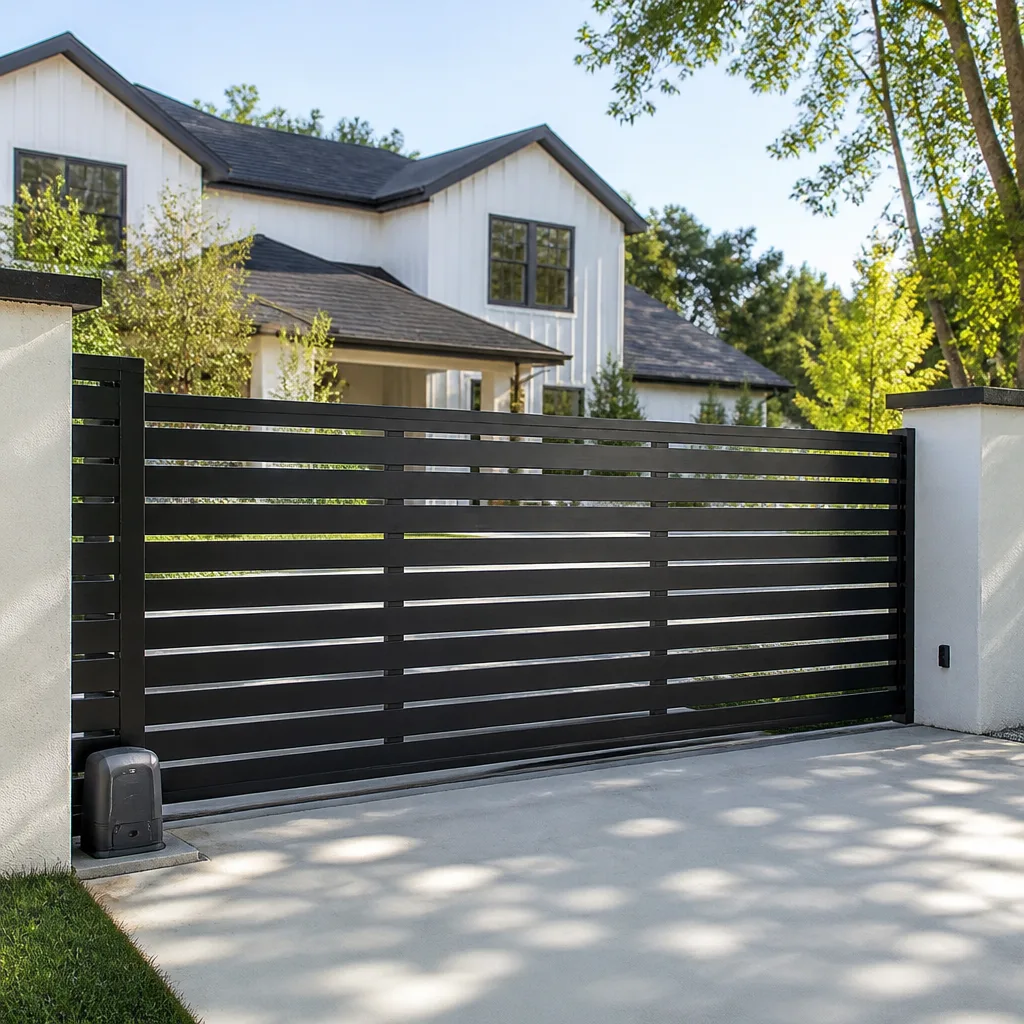 Sliding driveway gates
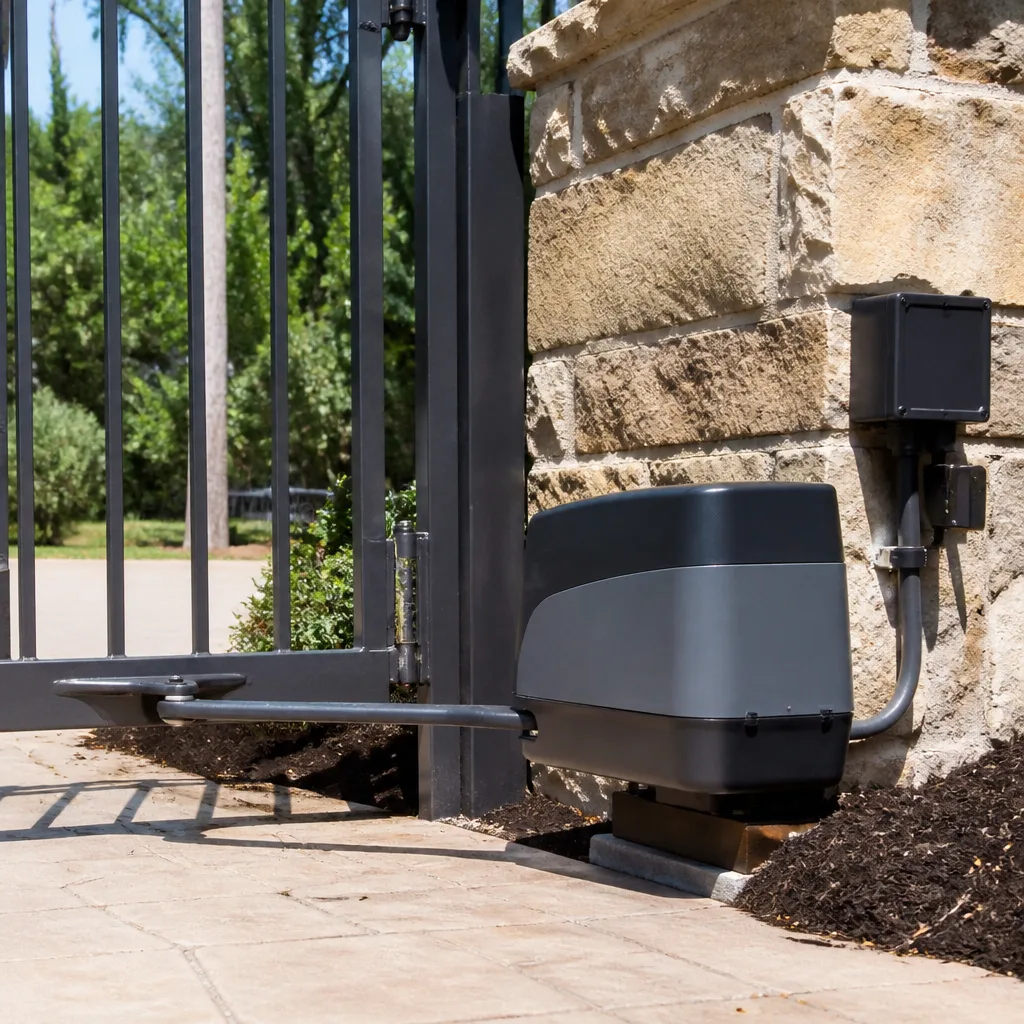 LiftMaster operators
Free on-site gate assessment - hinges, posts, and your LiftMaster or Nice gate operator checked before anything is quoted
The assessment is free and the quote is the invoice.
Get your free estimateDIY vs Professional Gate Repair: The Roseville Homeowner’s Decision Guide
Here’s the part most gate repair advice gets wrong: the line between what you can handle and what you should hand off doesn’t run through your skill level. It runs through your gate’s system type. A homeowner who’s never held a wrench can safely lubricate a hinge. A confident weekend tinkerer with a full tool chest can get seriously hurt adjusting force-limit settings on a gate operator, and in California that liability lands on the property owner when safety mechanisms aren’t properly calibrated. This guide draws the exact line for Roseville homeowners, HOA managers, and property owners: what’s genuinely DIY-safe, what isn’t, and how to use a partial DIY attempt to make the professional call cheaper instead of more expensive.
Quick Answer
Manual gate repairs involving hardware, hinges, latches, and alignment are often reasonable DIY territory for a careful homeowner. Anything involving an electric gate operator, its wiring, control board, force reversal, or entrapment sensors is professional-only work, because those safety systems must be tested to a standard rather than set by feel. In Roseville, many HOAs also prohibit owner-performed gate work outright, which pushes even simple repairs toward a licensed professional.
Styles & brands we work with
- Wrought iron
- Wood & steel frame
- Farm & ranch
- Sliding driveway gates
- LiftMaster operators
Table of Contents
- Why System Type Decides the DIY Question
- The DIY-Safe Tasks: What You Can Actually Own
- Why Gate Operator Work Is Professional-Only
- The Hidden Cost of a Half-Completed DIY Repair
- Roseville HOAs and Contractor Documentation
- How Roseville’s Climate Affects Gate Wear
- How to Document Your DIY Attempt Before You Call
- Why Brand-Specific Diagnosis Saves You Money
Why System Type Decides the DIY Question
The DIY vs professional question is really a classification question. Before you touch anything, figure out what kind of gate you have and what kind of system is driving it. That single step determines almost everything that follows.
Manual gates are mechanical devices. Hinges, latches, drop rods, rollers, and stops wear out, loosen, or drift out of alignment. The forces involved are the weight of the gate panel and whatever you push against, and the failure modes are visible and slow. A manual gate that drags on the ground or swings crooked gives you warning signs long before it fails.
Electric and automated gates are a different animal. An operator is a machine that moves a heavy panel under its own power, and that means stored energy, moving parts outside your direct control, and safety systems designed to stop the gate when something or someone is in the way. Once a gate has an operator on it, the repair conversation changes from “can I get this loose bolt out” to “can I verify that the force reversal trips at the right point every time.”
In our experience around Roseville, most residential gate problems we’re called for are on the electric side. That’s the same reason the DIY line tends to fall in one place here: doors without operators are often manageable, and anything with a running motor and a control board usually isn’t. If you want the full picture of what falls inside each category, our gate repair overview breaks the work down by system type, and electric gate repair covers the automated side specifically.
How to Identify Your System in 60 Seconds
- Look at the gate: does it open by hand, or does a motor drive it?
- If there’s a motor, find the operator housing (usually a box near a post or mounted overhead on a slide gate).
- Read the brand name on the housing. Common ones we see in Roseville include LiftMaster, FAAC, Elite, and Mighty Mule.
- Look for safety devices: photo eyes near the ground, edge sensors on the gate panel, a keypad or receiver.
- Write down the brand and model if visible, and note whether the gate is swing or slide.
That five-minute walkthrough tells you whether the repair belongs to you or a technician. It also tells whoever you call what they’re walking into.
The DIY-Safe Tasks: What You Can Actually Own
There is real, genuinely safe DIY work on a gate. Doing these yourself keeps small problems small and saves you a service call for things that don’t need one. Here’s our working list of tasks homeowners can reasonably handle on their own gate in Roseville.
- Hinge lubrication. A few drops of gate-appropriate lubricant on hinge pins a couple of times a year keeps a manual or swing gate swinging freely and stops rust from seizing the joint.
- Remote battery replacement. When the remote stops working from a distance, change the battery first. Most remotes open with a small screwdriver or a coin.
- Photo-eye cleaning. Dust, spiderwebs, and garden debris on the photo-eye lenses are one of the most common causes of a gate that won’t close. A soft cloth and a check that nothing is blocking the beam is safe and often fixes the problem outright.
- Vegetation clearing from the track. On a slide gate, weeds, mulch, and overhanging branches near the track cause drag and false obstructions. Clearing them is safe and worth doing regularly.
- Wiping down the operator housing and gate surface. Dust and pollen buildup is a minor issue but keeping the housing clean helps you spot cracks, moisture, or insect nests before they become a repair.
- Checking that the manual release key is where it should be. Every operator has a manual release. Confirming the key or handle is present and accessible is worth the two minutes.
Notice what’s not on this list: anything that involves opening the operator housing, adjusting a limit switch, changing a control board, or testing a safety device. That boundary isn’t arbitrary. It’s the point where the work stops being about mechanical cleaning and starts being about calibrated safety equipment.
If you’re on the fence about whether a task belongs to you, call and ask. We answer 24/7 and can tell you in a couple of minutes whether it’s a DIY job or one for a technician. That’s a free conversation, and it’s usually faster than guessing.
Why Gate Operator Work Is Professional-Only
Here’s the crux of the whole guide. Gate operator work is professional-only not because it’s complicated to look at, but because the safety devices on that operator exist to prevent injury, and they only work if they’re set to an actual standard.
Every modern automated gate sold in the US is designed around UL 325, the safety standard for gate operators. That standard is the reason your gate has photo eyes, edge sensors, and force-reversal limits. Those devices are calibrated to a specification: the operator must reverse or stop when it meets a certain amount of resistance, and it must do so reliably under load, at temperature, and after the system has been running for a while. Setting those values isn’t a matter of feel. It’s a matter of testing them until they trip correctly and reliably across repeated cycles.
A homeowner adjusting force limits “by feel” typically ends up with one of two outcomes. The gate either becomes over-sensitive and reverses on the slightest contact (or on its own shadow and every gust of wind), or it becomes under-sensitive and drives into obstacles it should stop for. The first outcome is annoying. The second is a hazard on a panel that can weigh several hundred pounds.
There’s a second reason to leave operator work alone. Every brand implements its safety and limit logic differently. LiftMaster boards, FAAC control panels, and Elite operators each handle force reversal, obstruction detection, and travel limits with their own logic and their own settings menus. A technician who works with your specific system knows where the settings live and what a correct reading looks like. A homeowner reading a generic online manual for the wrong board can make the problem worse before they realize they’re in the wrong menu. The safety risks here are specific and real: heavy panels that can crush, slide gates that come off the track, and the operator’s wiring and power. If you’re going to work near any of that, it should be with someone trained to test the result.
We’re experienced with all three of the most common Roseville operator brands, and brand-specific diagnosis is why an operator repair call usually takes less time to resolve than a homeowner’s own troubleshooting. Call (855) 431-0356 and we can tell you over the phone whether your symptom points to something in reach or something that needs a technician.
The Hidden Cost of a Half-Completed DIY Repair
This is the part nobody warns you about. A DIY attempt that stops halfway can turn a small repair into a bigger job, and the reason is straightforward: reassembly and diagnosis both take longer when a technician has to figure out what state the gate was left in.
Picture the typical sequence. A homeowner’s slide gate stops mid-travel, so they open the operator housing, wiggle the control board, unplug and replug a couple of connectors, and don’t find the problem. Then they call us. The technician walks up to a gate that isn’t where it was, with connectors in positions that may not match the original wiring, and settings that may have been nudged while testing. Before they can diagnose the actual fault, they have to establish the baseline. That extra work is labor, and it gets added to the bill.
The same thing happens with physical disassembly. A homeowner who unbolts a hinge or removes a latch to check it and can’t get it aligned when reassembling often ends up with a gate that drags, binds, or no longer latches. The professional repair now includes realignment that wouldn’t have been needed if the original part had been tightened in place.
This is why our guidance is not “never touch it.” It’s “know where the line is and stop cleanly at it.” Touching something to check its condition is fine. Pulling a control board or adjusting safety settings and then calling a technician is the scenario that costs more.
What Raises the Bill Versus What Doesn’t
- Doesn’t raise the bill: visual inspection, cleaning, lubrication, noting symptoms, photographing what you see.
- Raises the bill: opening the operator housing, disconnected wires, changed settings, partially removed hardware.
- Raises the bill further: attempting a repair, giving up halfway, and not documenting what was touched.
The written estimate you get from us sets the price before work starts, so you’ll know what a repair involves before you commit. But the scope of the repair, and therefore the price, is smaller when a technician isn’t cleaning up after a half-finished attempt.
Roseville HOAs and Contractor Documentation
If you live in one of Roseville’s master-planned communities, the DIY question may not even be yours to answer. Many HOA CC&Rs in the area restrict owner-performed work on gates and shared access structures, and a growing number require licensed contractor documentation before work begins.
The reasoning is simple. A driveway or access gate is often shared infrastructure, even when it opens onto your own property. A gate that fails, drops, or swings wrong can affect neighbors, deliveries, and emergency access. HOAs manage that risk by requiring that the work is done to a verifiable standard and by a properly licensed professional.
Before you start any gate repair in Roseville, check three things:
- Read your CC&Rs or architectural guidelines for gate and fence provisions.
- Call your HOA and ask whether they require a contractor license, insurance certificate, or permit documentation for gate work.
- Ask whether the gate is considered common area or your responsibility, and who signs off on the finished repair.
If your HOA requires contractor documentation, tell whoever you call up front. We can confirm our licensing and insurance status in writing so the paperwork moves without a second visit. If you’re a property manager handling multiple gates, the same documentation is usually what your board wants to see in the file, and it’s worth collecting it before work starts rather than after.
One practical note: if you’re planning a new gate or a change to an existing one, check with the city as well. Most cities require a permit for structural or electrical gate work, and your city’s building department is the right place to confirm. HOA approval and city permits are two separate steps, and Roseville HOAs usually ask to see both before they sign off.
This is the specific reason a specialist matters here. A general handyman may not be able to supply the contractor documentation an HOA asks for, and a homeowner repairing a shared gate on their own is a potential CC&R violation. A dedicated gate specialist can supply the license and insurance paperwork the board expects and handle the technical work to the same standard. If you’re reading the DIY vs professional question in that context, the DIY side is often closed off before the conversation starts.
How Roseville’s Climate Affects Gate Wear
Roseville’s climate creates a specific pattern of gate wear that’s worth understanding before you decide what to fix yourself. Winters here are mild, which means gates don’t spend months in freeze-and-thaw cycling. But mild winters mean the local wear pattern is dominated by heat, dry air, and dust, with a striking amount of pollen during the spring.
What that looks like in practice:
- Hinges and moving parts dry out faster in summer. Hot, dry stretches pull lubricant out of hinge pins and roller tracks. A gate that’s fine in spring can start to creak by mid-summer.
- Dust collects in tracks and photo-eye lenses. The Valley’s dust is a real source of false obstruction faults on a slide gate, and it’s a leading cause of gates that won’t close.
- Pollen coats the operator housing and gate hardware. Spring pollen leaves a sticky film that captures more dust and can gum up small moving parts.
- Wood and metal expand and contract across the day. Gate panels that fit in the morning can bind in the afternoon heat, which matters for a gate that’s already close to its tolerance.
Most of this wear is manageable with the DIY-safe tasks: lubrication, cleaning photo eyes, clearing tracks. What’s not manageable is what happens when that wear has already caused a mechanical or electrical fault. A dried hinge pin that causes a gate to sag is a physical repair, not a lubrication problem. A photo eye that keeps tripping after it’s been cleaned is a symptom of something else, and chasing it without a meter and an operator manual wastes time.
Our Roseville service page describes the local work we see and how we approach it, and it’s worth reading if you’re trying to figure out whether your issue falls in the seasonal-wear category or the actual-repair category. If you’re not sure, the fastest way to find out is a phone call. We answer 24/7 and can usually tell from your description alone whether it’s worth trying a DIY task first.
How to Document Your DIY Attempt Before You Call
Here’s the good news. If you’ve already tried a DIY repair and it didn’t work, or you’ve decided to hand off a task, you can make the professional visit faster and cheaper by documenting what you did. Technicians love a homeowner who took notes, because it cuts diagnostic time on the call.
Do this before you call:
- Photograph the gate from several angles. One photo of the whole gate, one of the operator housing, one of the hinge or track area, and one of any visible damage.
- Photograph the operator label. Get a clear shot of the brand and model number. We work on LiftMaster, Mighty Mule, FAAC, Elite, and five other major brands, and the model number is the single fastest piece of information you can give us.
- Write down the symptom in plain words. “Gate opens but won’t close,” “gate reverses halfway,” “remote works from the house but not from the street,” “gate drags at the far end.” Avoid your own diagnosis; just describe what it does.
- Note when it started and what changed. If it began after a storm, after someone bumped the gate, or after a power outage, note that.
- List what you already touched. Batteries you replaced, screws you turned, settings you adjusted, parts you removed. Be honest; it helps, it doesn’t hurt.
- Note the safety devices you can see. Photo eyes, edge sensors, keypads, receivers, and their general condition.
All of that takes ten minutes. It may not feel like it saves money, but it consistently shortens the time a technician spends diagnosing and lets them bring the right part on the first visit. If you’ve already opened the operator housing, take a photo of the wiring inside it before you call so a technician can compare it to the original layout.
Call (855) 431-0356 with those notes in front of you and we can often tell you over the phone whether it’s a small repair or a scope of work that needs an on-site estimate. Estimates are free, and the price is quoted before any work starts.
Why Brand-Specific Diagnosis Saves You Money
The last piece of the DIY vs professional puzzle is brand knowledge. Gates are not one system. Each brand handles limits, safety devices, wiring, and control logic in its own way, and a technician who works on your brand has an advantage a generalist doesn’t.
We work on all of the following, and technicians diagnose based on the brand’s own logic rather than a generic checklist:
- LiftMaster
- FAAC
- BFT
- Linear
- Viking
- Ghost Controls
- DoorKing
- Elite
- Mighty Mule
That spread matters for two reasons. First, diagnosis is faster. When we hear “slide gate with a Mighty Mule operator that reverses at the same spot every time,” we already know the typical causes and the settings to check. Second, we’re not brand-loyal. The right fix is the right fix for the system you already have, and we don’t push you toward a proprietary brand for convenience. Repair through installation is handled by the same trade-focused team, so the gate lifecycle is covered under one roof.
This is also the point where we stop being neutral about the DIY question. If your gate is on an older or less-common operator and the safety settings haven’t been touched in years, that’s exactly the situation where a professional evaluation pays for itself. If your gate is a simple manual system with a loose hinge, that’s exactly the situation where you can handle it and we’d rather you not pay for a visit. Gate Repair Roseville covers both ends of the work, and the goal is always the same: the right fix for the system you have.
Common Mistakes to Avoid
- Adjusting force limits by feel. The most common DIY mistake on an electric gate is turning up the force until the gate stops reversing. That makes the gate move, but it does it by disabling the safety feature meant to protect people near the gate. Set it to a standard or leave it alone.
- Chasing a photo-eye fault with the sensor alone. If the gate reverses on every close, cleaning the photo eyes is worth trying. If it keeps doing it, the issue may be the alignment, wiring, or receiver, not the lens. Repeated guessing usually makes it worse.
- Opening the operator housing to “check” the control board. There’s nothing a homeowner can safely do inside the housing beyond looking. Touching wiring or connectors there is where the bill starts climbing.
- Assuming your HOA doesn’t care. Many Roseville communities require contractor documentation for gate work, even on your own property. Check before you start, not after.
- Removing parts before photographing them. If you disassemble anything, take a photo of the assembled state first. A photo is the cheapest diagnostic tool there is.
- Letting a dying battery linger. Remote batteries that are weak will cause intermittent operation that feels like a control board failure. Replace them first.
- Ignoring a slide gate that’s off the track. A slide gate that has drifted off its track is not a DIY alignment. The panel is heavy, and handling it wrong can cause the gate to come down. Leave it and call.
- Skipping seasonal lubrication. A few drops of lubricant a couple of times a year is the single most effective DIY habit for extending hinge and roller life. It’s also the one most often skipped.
See the difference
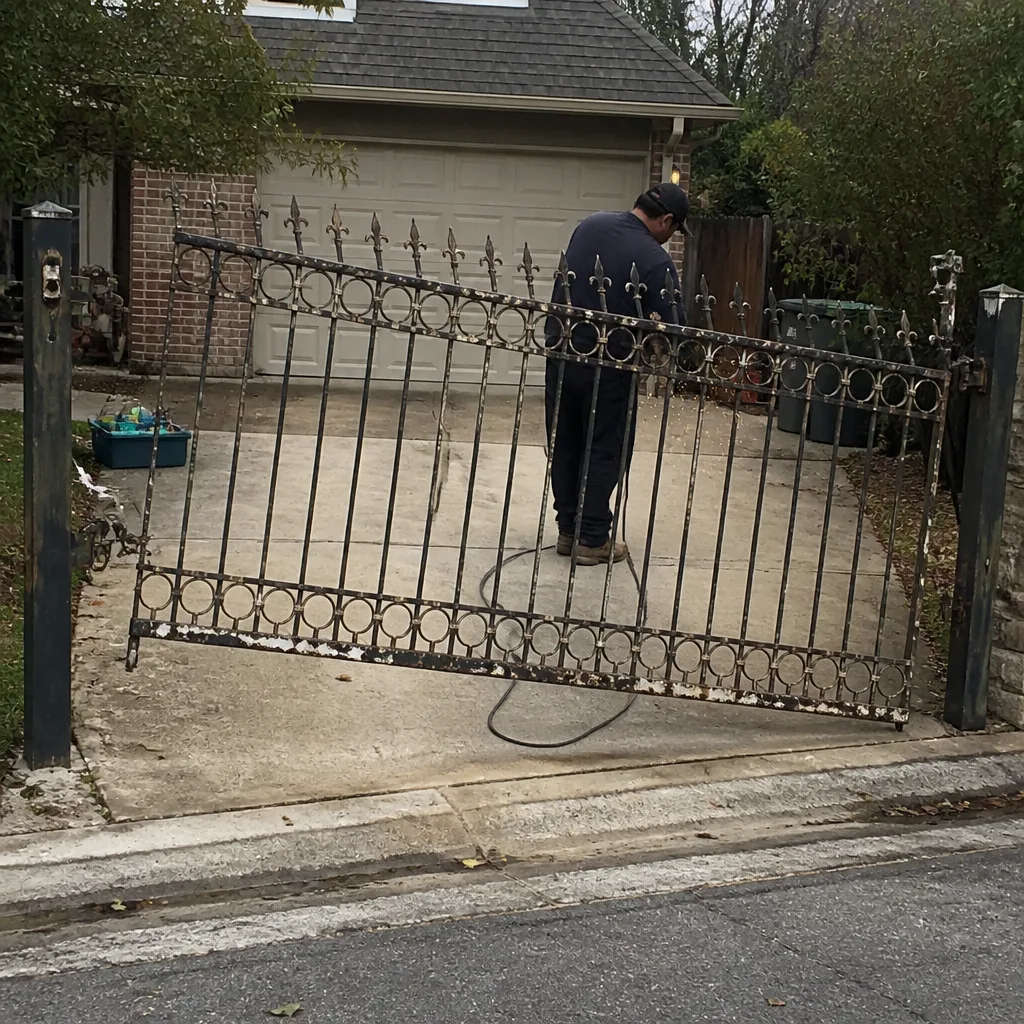 Before
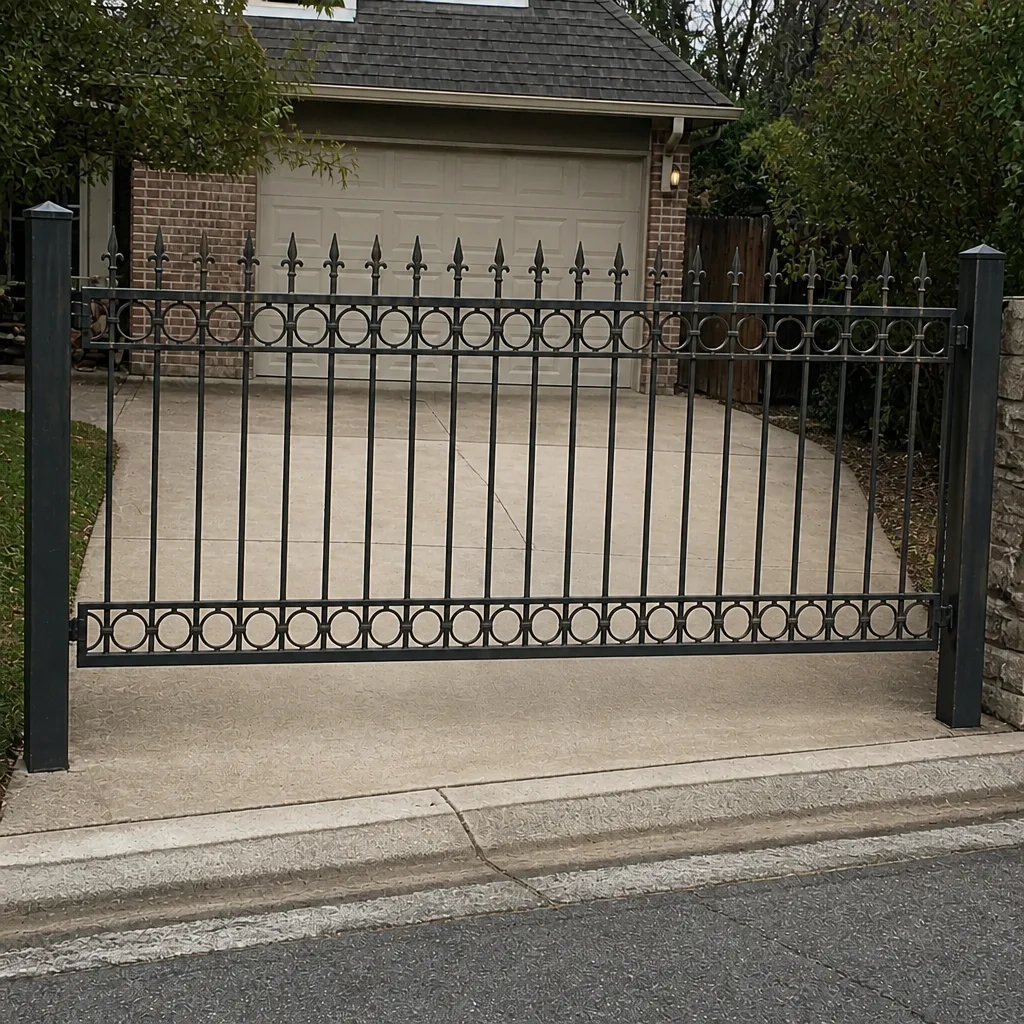 After
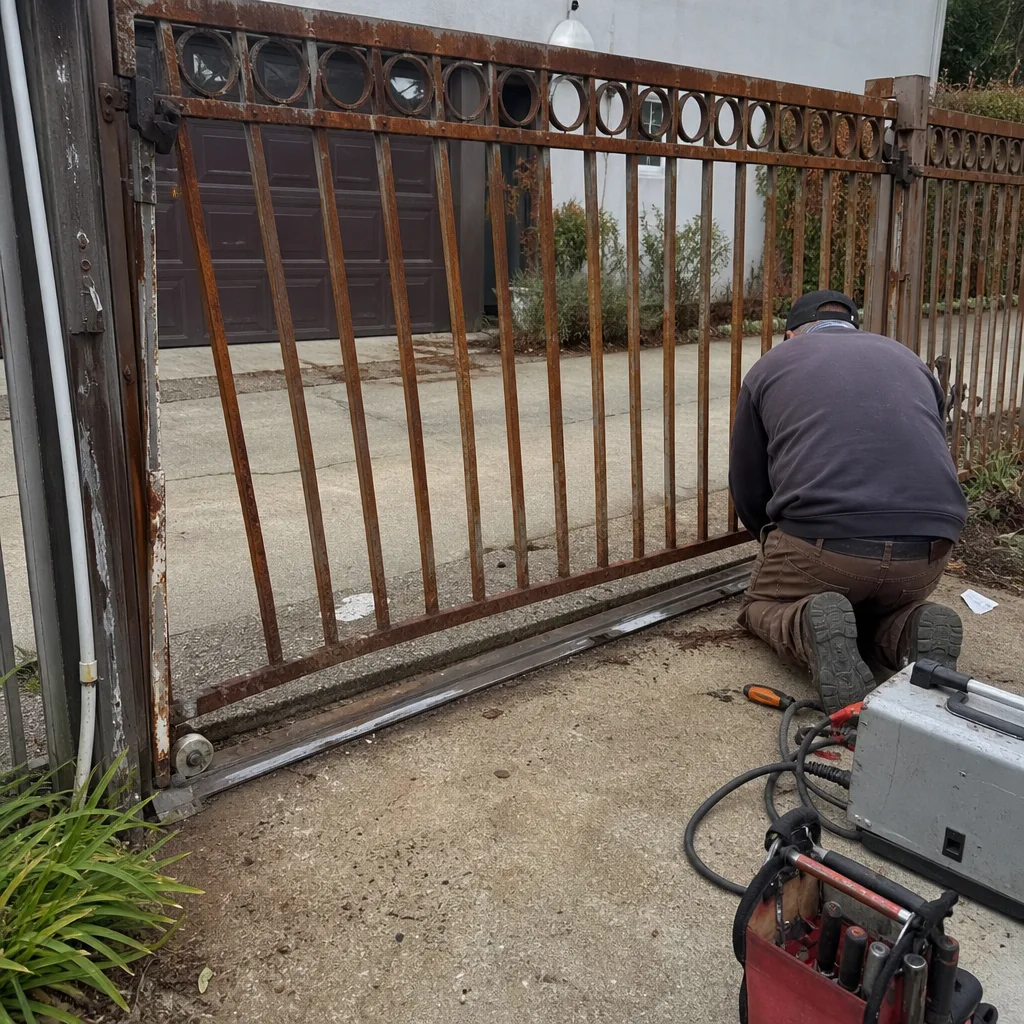 Before
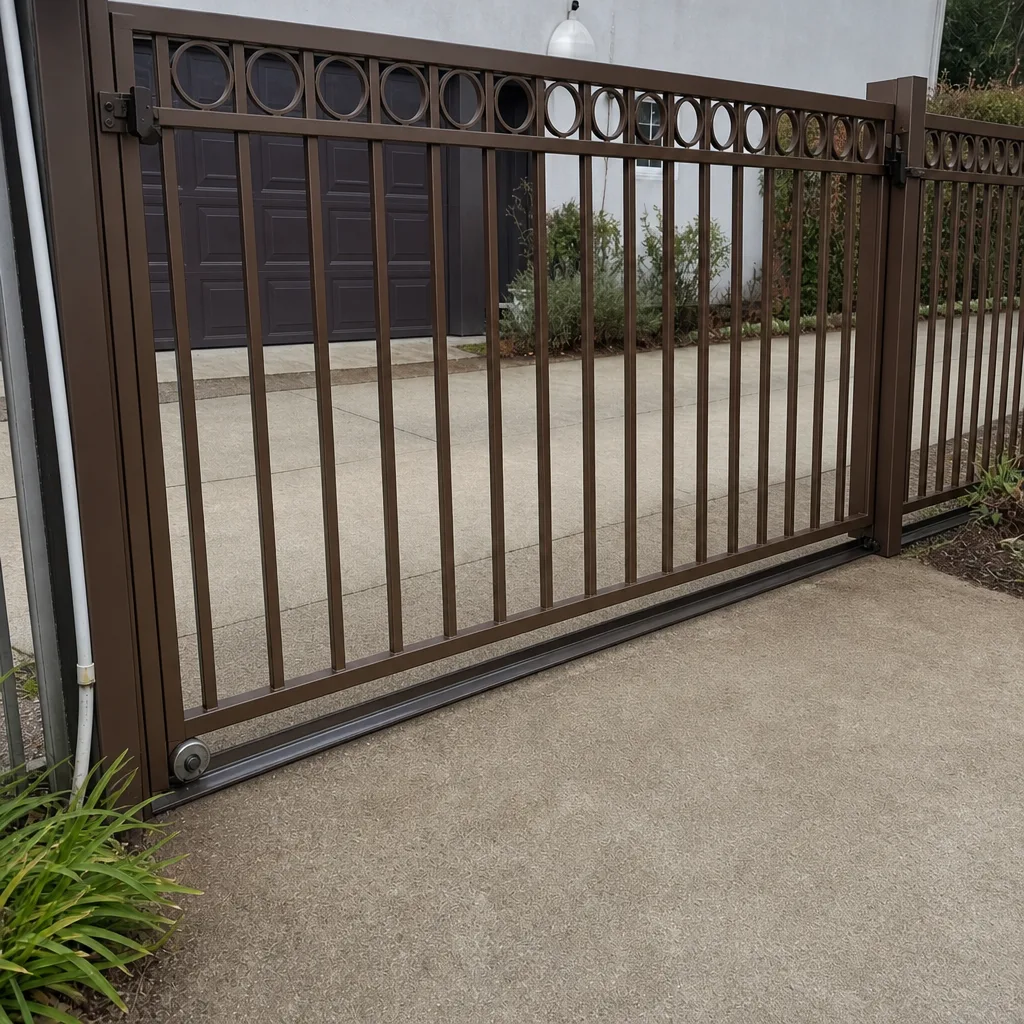 After
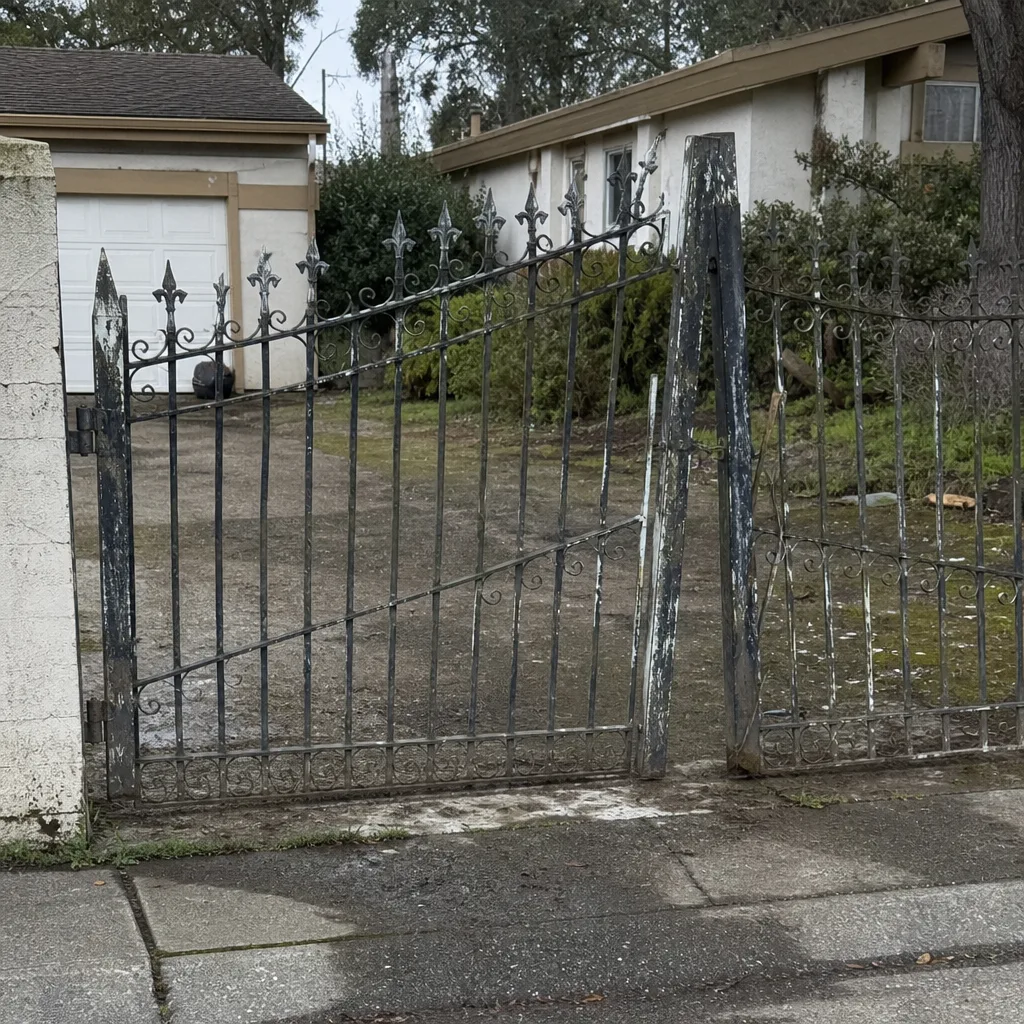 Before
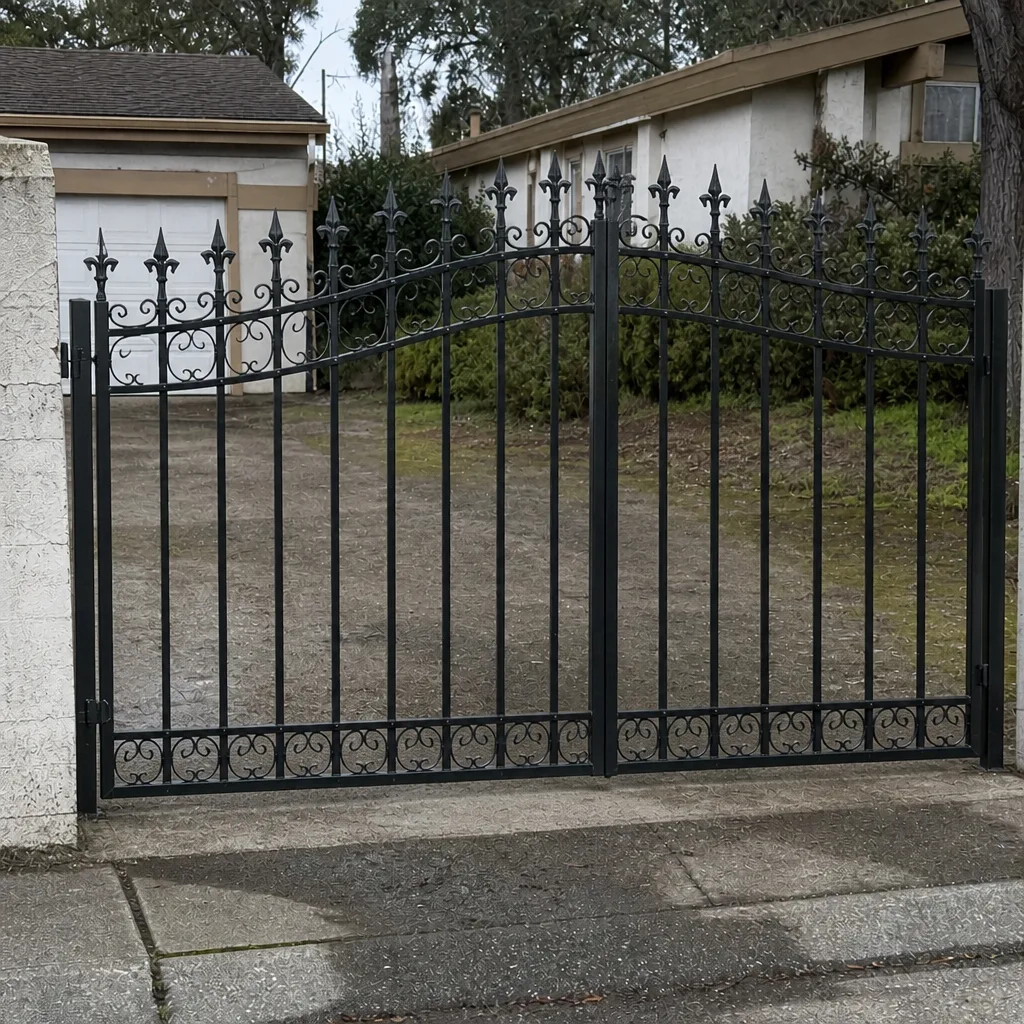 After
When to Call a Professional
Call a professional when the work involves electricity, safety devices, or a gate that has stopped being predictable. Concrete scenarios: any gate operator that reverses, stops, or fails to stop without an obvious cause; any issue with photo eyes, edge sensors, or force limits; any wiring, control board, receiver, or motor work; any slide gate that has come off its track; any heavy panel that has dropped, sagged, or fallen; any installation or replacement of an operator; and any repair in an HOA community that requires contractor documentation. Manual gate repairs that involve hardware removal, realignment, or structural work also belong in the professional column, because a sagging hinge that’s fixed wrong can pull the panel and post out of alignment over time. We handle both repair and installation, and electric systems are a core part of the work, not a side offering. Gate Repair Roseville offers free estimates in Roseville; call (855) 431-0356.
Frequently Asked Questions
Yes, for the DIY-safe tasks: hinge lubrication, remote battery replacement, photo-eye cleaning, and vegetation clearing from the track. Anything involving the electric operator, its wiring, control board, or safety devices should be handled by a professional. If your gate is in an HOA community, check your CC&Rs first, since many Roseville communities prohibit owner-performed gate work and require contractor documentation.
No, force limits and safety devices should be set by a professional who can test to standard. The gate must reverse or stop reliably under load, and setting it by feel usually results in either an over-sensitive gate or one that won’t stop for obstacles. Call (855) 431-0356 for a free estimate.
Because a technician has to diagnose around the change, not just the original fault. Disconnected wiring, altered settings, and partially removed hardware add diagnostic and reassembly time to the call. Documenting what you touched and photographing the gate before you call reduces that extra time.
Often yes, depending on your community’s CC&Rs. Many Roseville HOAs require licensed contractor documentation and sometimes permits before gate work begins. Call your HOA before booking any repair, and if they require documentation, some gate specialists can supply it in writing before the visit.
Yes, in a mild, dry way. Mild winters mean less freeze-thaw wear, but hot dry summers pull lubricant out of hinges and rollers, dust collects in tracks and photo-eye lenses, and spring pollen coats the operator housing. Seasonal lubrication and cleaning are the DIY tasks that make the biggest difference here.
Sometimes. The first thing to try is replacing the battery, which is a safe DIY task. If a new battery doesn’t fix it, the issue is likely in the receiver or wiring and belongs with a technician. Call (855) 431-0356 for a free estimate.
Very likely. We service LiftMaster, FAAC, BFT, Linear, Viking, Ghost Controls, DoorKing, Elite, and Mighty Mule. We don’t push customers toward a particular brand, and the goal is the right fix for the existing system. If you’re not sure what brand you have, check the operator housing label before you call.
A full installation generally covers the gate panel, posts and proper footing depth, the operator if the gate is automated, safety devices, wiring and the power run, and setting the system to a tested standard before handoff. Installation is scheduled rather than same-day because it’s measured and ordered. We’ll walk the site with you and give you a written quote before any work starts.
Yes. Power runs, wiring, receivers, and safety edges are part of the electric gate work we handle as a core specialty, not as an add-on. If you’re planning a new automated gate or an upgrade, we can scope the electrical and safety components in the same estimate. Call (855) 431-0356 for a free estimate.
The Bottom Line
The DIY vs professional question for gate repair comes down to your system type, not your confidence. Manual gate tasks like lubrication, cleaning, and visual checks are reasonable to own. Electric gate operators, safety devices, wiring, and control boards are professional-only work, and in Roseville HOA requirements often settle the question before you get to the technical side. If you’ve already started a repair, stop cleanly, document what you saw and did, and make the call with those notes in hand. That’s the version of a DIY attempt that saves you money rather than costing you. Our technicians have up to 15 years of experience, we work on your brand without pushing you toward a new one, and the right fix for your existing system is always the goal.
If your gate needs a closer look, call Gate Repair Roseville at (855) 431-0356 for a free estimate. We answer 24/7. Fast dispatch from 7am to 7pm, Sunday through Friday. The written estimate sets the price before any work starts.
Written by the team at Gate Repair Roseville.