
Last updated November 15, 2026
 Wrought iron
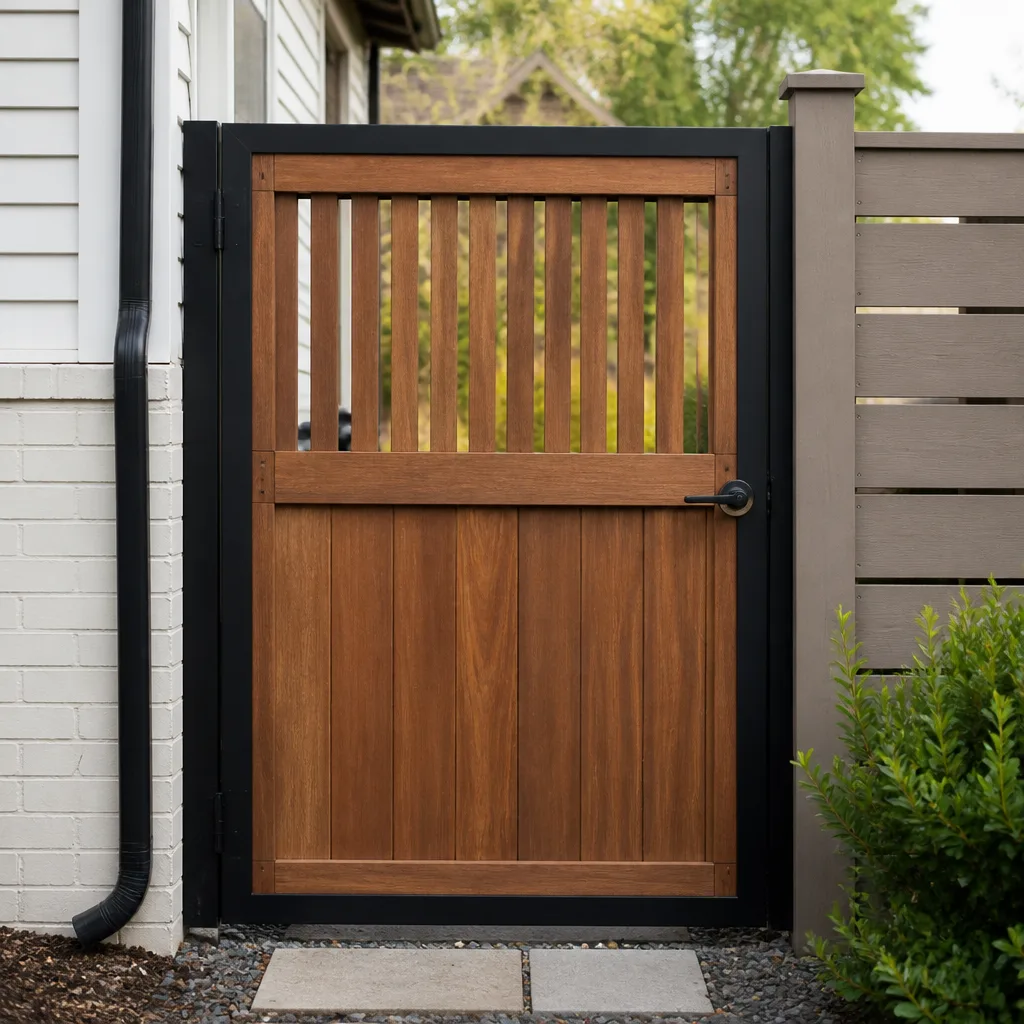 Wood & steel frame
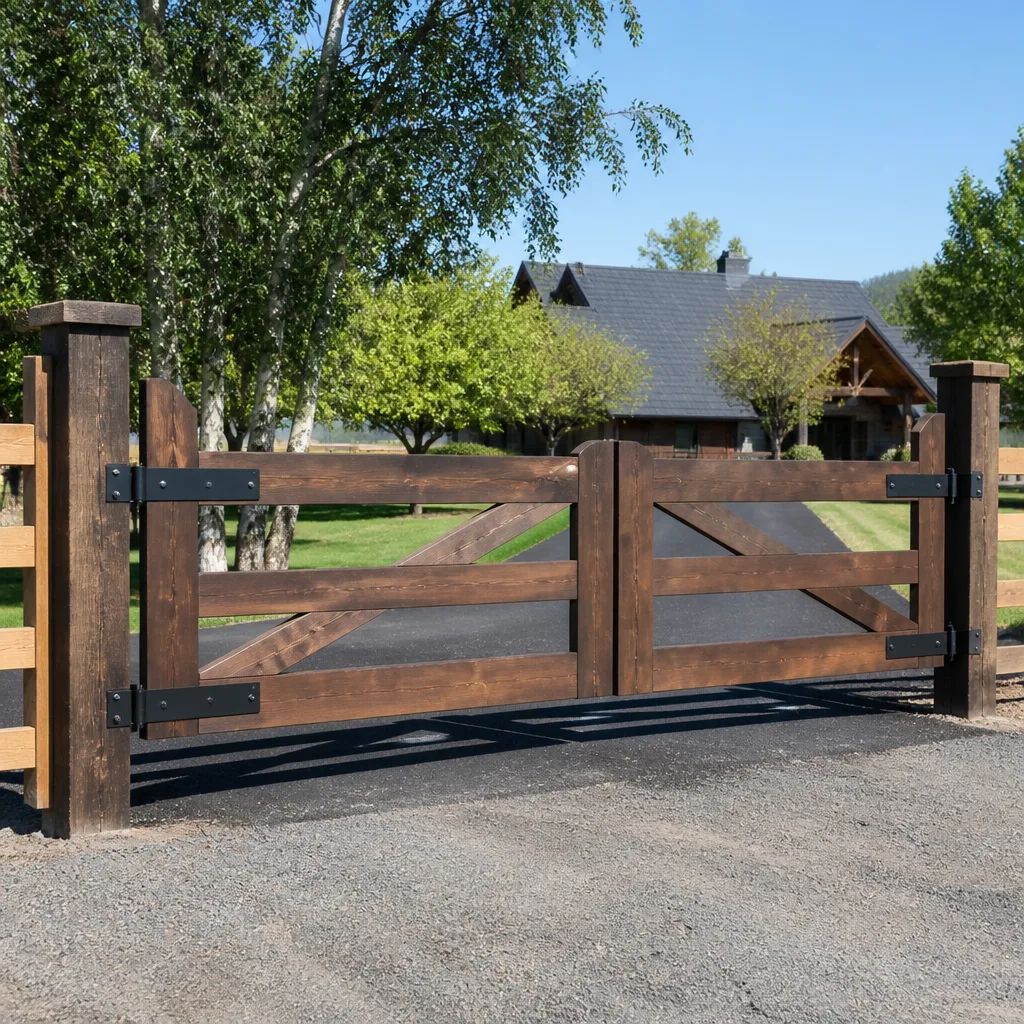 Farm & ranch
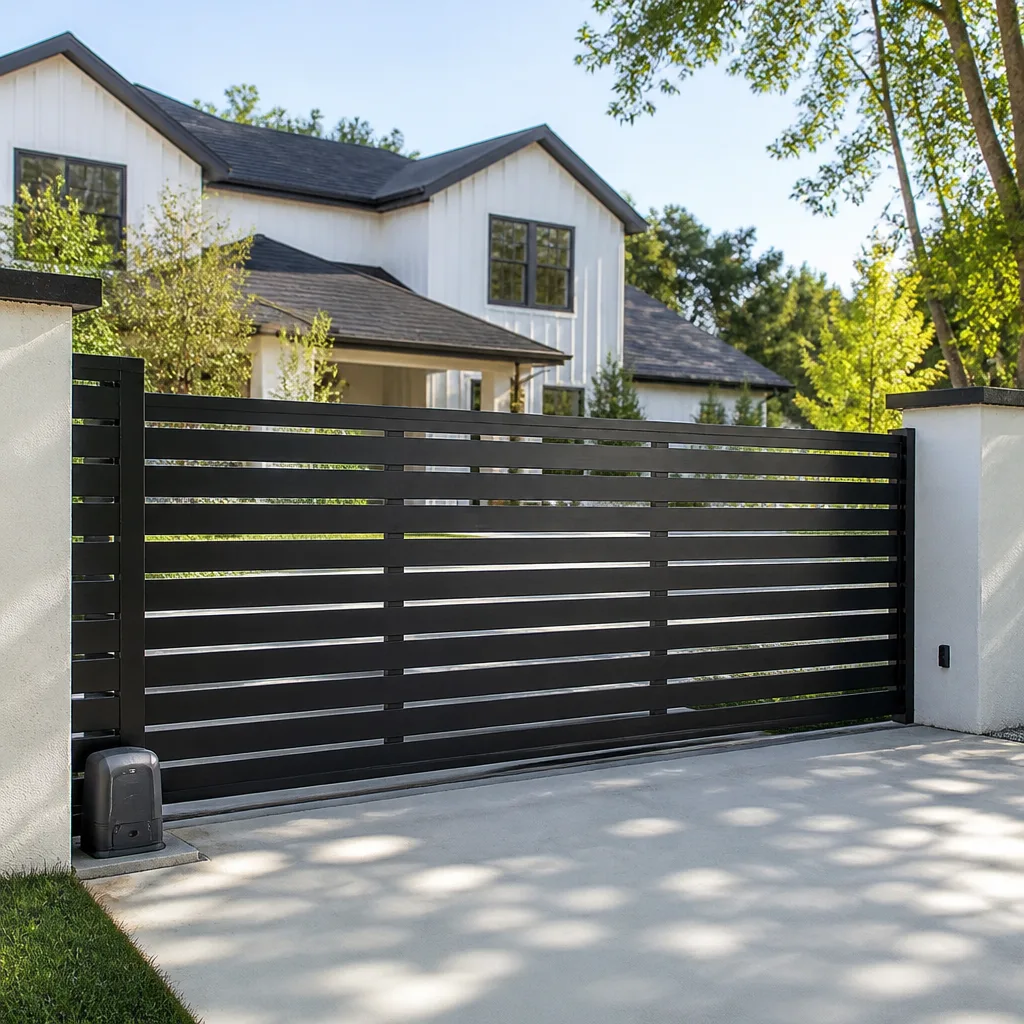 Sliding driveway gates
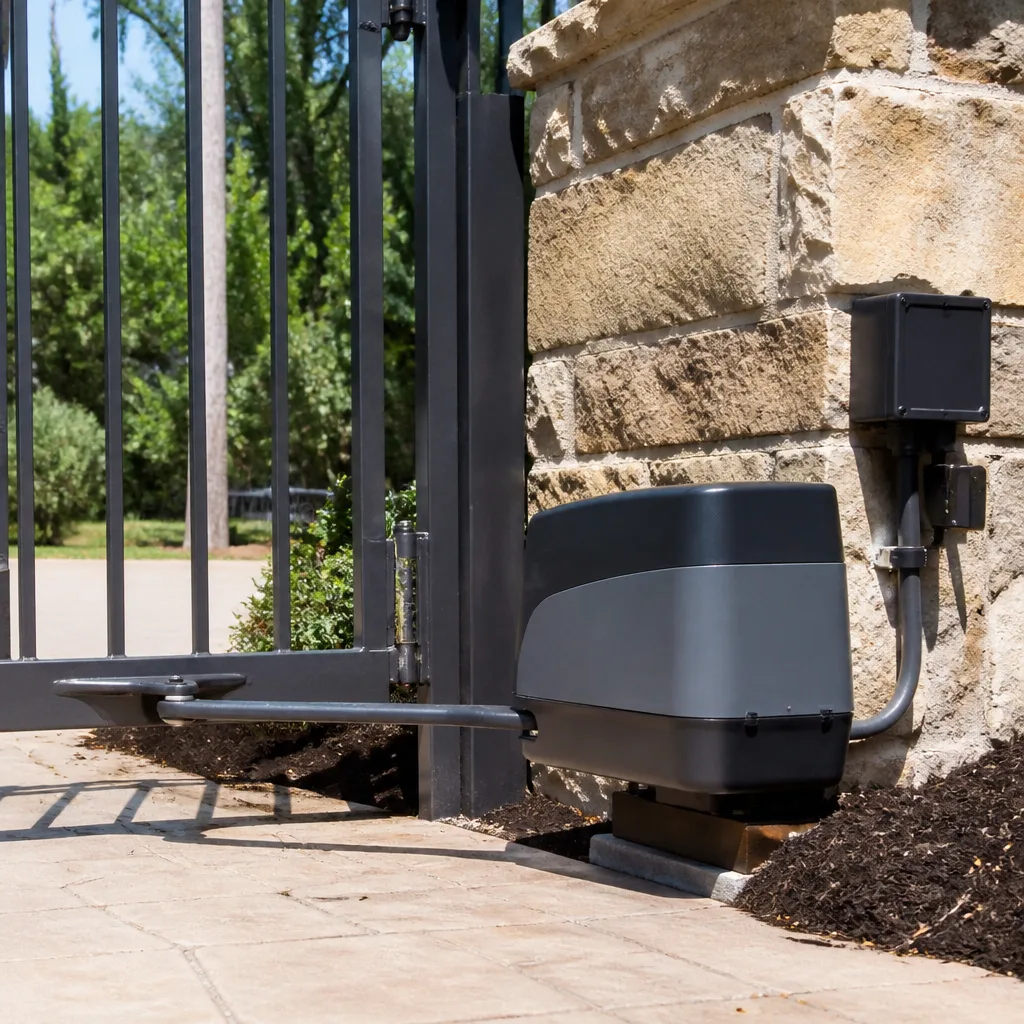 LiftMaster operators
Free on-site gate assessment - hinges, posts, and your LiftMaster or Nice gate operator checked before anything is quoted
The assessment is free and the quote is the invoice.
Get your free estimateGate Repair Maintenance Schedule: What to Do and When
Most “annual tune-up” packages sold to gate owners skip the two checks that prevent the majority of mid-year breakdowns: control board terminal inspection and hinge torque verification. That’s the industry’s quiet shortcut. A single loose terminal screw or a hinge working itself free will take a gate down long before a worn roller does, yet neither task fits neatly on a one-page checklist. So instead of an annual visit and a shrug, Roseville property owners need a layered calendar. Mechanical parts, electrical components and seasonal stressors each run on their own clock. This guide lays out a month-by-month framework built for the Sacramento Valley, from five-minute owner checks to the annual professional inspection.
Quick Answer
A proper gate maintenance schedule runs on three tiers: monthly owner checks (about 5 minutes), quarterly mechanical tasks (about 30 minutes) and an annual professional inspection that covers the control board, wiring, motor assembly and safety edges. In Roseville, June and October are the two months worth extra attention – June kicks off heat expansion season, and October is the moment to assess stress after a full summer of cycling.
Styles & brands we work with
- Wrought iron
- Wood & steel frame
- Farm & ranch
- Sliding driveway gates
- LiftMaster operators
Table of Contents
- The Three-Tier Maintenance Calendar
- Monthly Owner Checks: Five Minutes That Prevent Emergencies
- Quarterly Mechanical Tasks: Thirty Minutes, Four Times a Year
- Why June and October Are Roseville’s Critical Intervention Months
- Lubrication Done Right: Chains, Screw Drives and Hydraulic Arms
- Battery Backup: The Maintenance Nearly Everyone Skips
- Logging Gate Behavior So Failures Get Caught Early
- The Annual Professional Inspection: What It Should Cover
The Three-Tier Maintenance Calendar
A gate is a machine with moving parts and a machine with a brain, and those two halves don’t wear out at the same rate. That’s why a single annual checklist fails. The physical components take a beating every time the gate cycles. The electrical components fail differently, often from moisture, loose terminals or voltage irregularities rather than simple wear. A schedule that treats them the same misses both.
We split the work into three tiers because each one catches a different class of failure:
- Tier 1 – Monthly owner checks (5 minutes): A visual and hands-on pass for the obvious. Does the gate move smoothly? Any new noises? Is anything loose, cracked or rubbing? These checks catch problems while they’re still cheap to fix.
- Tier 2 – Quarterly mechanical tasks (30 minutes): Lubrication, hardware torque, track and roller inspection, and a slow walk along the entire travel path. This is where you prevent the mid-year breakdown rather than react to it.
- Tier 3 – Annual professional inspection: A trained technician checks the control board terminals, motor assembly, safety edges, wiring, battery backup and operator logic. This is the tier most homeowners and HOA managers never schedule, and it’s where the majority of costly failures begin.
For Roseville properties with heavy traffic – an HOA entrance gate or a commercial lot driveway – the quarterly tier should really be monthly, and the annual inspection should happen twice a year. Cycle count matters more than the calendar when a gate opens and closes dozens of times a day.
Monthly Owner Checks: Five Minutes That Prevent Emergencies
Five minutes once a month is the cheapest insurance a gate owner has. These checks don’t require tools or technical knowledge. They require you to watch and listen.
- Run the gate through a full cycle. Watch it open and close all the way. Does it move evenly, or stutter, slow down or hesitate at any point? A gate that hesitates mid-travel is telling you something is binding or a component is losing power.
- Listen for changes. A healthy gate has a consistent sound. Grinding, squealing, clicking or a new rattle are all signals. The trick is noticing the change before the gate stops entirely.
- Test the safety edges and photo eyes. With the gate moving, block the safety beam or apply light pressure to the edge. The gate should reverse immediately. If it doesn’t, stop using the gate and call for service – a gate that won’t reverse is a crush hazard.
- Look at the hardware. Walk the gate and check hinges, brackets and mounting bolts by eye. Any bolt that looks backed out, any bracket that looks shifted, needs attention.
- Check the track and the path. For a sliding gate, look for debris, leaves or gravel in the track. For a swing gate, check that the gate isn’t dragging on the ground or catching on the driveway.
Write down anything you notice. Even a vague note like “sounds rougher than last month” is useful – it’s exactly the kind of observation that helps a technician spot a pattern instead of guessing. Roseville’s dry summers mean dust and grit collect in tracks and around hinges quickly, so the monthly pass matters more here than in wetter climates.
Quarterly Mechanical Tasks: Thirty Minutes, Four Times a Year
Every three months, set aside half an hour for the hands-on mechanical work. This tier is about keeping moving parts moving freely and hardware staying tight. Grab a wrench, a rag and the right lubricant (more on that below), and work through this list:
- Verify hinge torque. This is the task most annual packages skip. Check every hinge bolt and tighten as needed. A hinge that’s worked loose puts stress on the gate frame and eventually on the operator. Overtightening is a risk too – snug, not cranked down.
- Lubricate hinges and pivot points. Use the correct product for the component (see the lubrication section). Wipe off old grease and grit before applying fresh lubricant.
- Inspect the operator’s moving parts. For a chain drive, check chain tension and look for slack or wear. For a screw drive, check the rail for build-up. For a hydraulic arm, check the arm and fittings for leaks or seepage.
- Clean the track and rollers. On a sliding gate, clear the track of debris and check each roller for flat spots or wobble. Replace rollers before they seize.
- Check the gate’s alignment. The gate should sit level and swing or slide without rubbing. Sagging alignment wears out the operator faster than almost anything else.
- Inspect the posts and footings by eye. Look for cracks, shifting or loosening where the posts meet the ground. Posts that have moved change the gate’s geometry and put strain on the entire system.
If any of these checks turn up something you can’t fix with a wrench and a rag – a chain that’s stretched, a hydraulic arm leaking fluid, a post that’s shifted – that’s when a technician should look at it. Our gate repair work starts with a proper diagnosis, not a parts swap.
Why June and October Are Roseville’s Critical Intervention Months
Roseville’s climate isn’t harsh, but it’s consistent: long, hot, dry summers and mild winters. That pattern creates two specific intervention windows every year.
June: heat expansion season. As temperatures climb into summer, metal components expand. Gate frames, tracks and operator arms all move by small amounts, and that movement puts stress on hinges, brackets and alignment. A gate that ran perfectly in May can start rubbing or binding in June. This is the month to check hinge torque and alignment, watch the chain or screw drive for tension changes, and confirm the gate still runs a full cycle without hesitation. If something is going to loosen up in the heat, June is when it happens.
October: post-summer stress assessment. By the time autumn arrives, the gate has run through its hardest season. Now the question is what the summer left behind. This is the month to inspect for worn rollers, stretched chain, hinge wear and any damage from dry-season dust and grit. It’s also a good time to check the operator’s internal components before winter: the control board, terminals and wiring should all be clean, dry and secure.
There’s a practical reason to build the schedule around these two months. Every repair we handle across Roseville falls into one of three service categories – gate repair, electric gate repair and installation – and the June and October checks are the best defense against needing the first two. Properties with automated systems from brands like Viking, DoorKing or Elite tend to show heat-related stress sooner because the operator’s electronics sit in the same enclosure as the drive mechanism. A quick check at each of these two months catches most of it.
Lubrication Done Right: Chains, Screw Drives and Hydraulic Arms
Lubrication is where well-intentioned gate owners do the most damage. The wrong product doesn’t just underperform – it can dissolve the nylon gears inside the operator and turn a simple maintenance task into a control-board-and-motor rebuild.
Here’s what to use on which component:
- Chain drives: Use a chain-specific lubricant, ideally a spray designed for roller chain. Apply lightly along the length of the chain, wipe off excess, and don’t over-apply. Grease that collects grit turns into grinding paste.
- Screw drives: Use the lubricant the operator manufacturer specifies – typically a light film of the recommended grease. Screw drives shouldn’t be over-greased. A thin, even coat is enough.
- Hydraulic arms: The arm itself is usually sealed. Lubricate the pivot points, not the hydraulic cylinder. Check the fittings for leaks and let a technician handle anything that’s seeping.
- Hinges and pivot points: A quality multipurpose grease or dedicated hinge lubricant works well. Clean off old grease and grit first.
What to avoid: silicone sprays and light penetrating oils on any component with nylon or plastic gears. They can degrade the plastic over time. Standard WD-40 (the classic water-displacement formula) is also a poor long-term lubricant – it’s fine for freeing a stuck bolt, but it doesn’t hold up as a moving-part lubricant. And never use a heavy grease on a chain or screw drive in a dusty environment like Roseville’s summer months. It attracts grit and accelerates wear.
When in doubt, match the lubricant to the operator brand. Brands like Ghost Controls and Viking both publish specific lubrication guidance for their drives, and following it keeps the factory tolerances intact.
Battery Backup: The Maintenance Nearly Everyone Skips
Battery backup is the component homeowners remember only when the power goes out and the gate won’t open. By then it’s usually too late. Batteries degrade quietly, and a battery that’s been sitting unused for two years will fail exactly when it’s needed.
Here’s the cadence that keeps a backup battery healthy:
- Monthly: Confirm the operator’s battery indicator (if it has one) shows a healthy charge. Some control boards log battery status, and the annual inspection will catch what the indicator misses.
- Twice a year: Test the battery under load. With the gate at rest, disconnect the main power briefly and run the gate through one full cycle on battery alone. The gate should open and close smoothly. If it slows or stalls, the battery is failing.
- Annually: Inspect the battery terminals for corrosion and check the connections. A technician doing an annual inspection should test battery voltage and confirm the charging circuit is working.
- Per the manufacturer’s schedule: Replace the battery on the interval the operator manufacturer specifies, not when it fails. A battery that’s past its service life will let you down on the day you need it most.
Battery backup matters for any automated gate, but it’s essential for gated communities and commercial properties where a power outage can strand vehicles or block emergency access. Roseville’s hot summers are hard on batteries – heat accelerates the chemical aging inside any backup cell – so the twice-yearly load test is worth more here than the manual suggests.
Logging Gate Behavior So Failures Get Caught Early
A gate that fails on a Tuesday morning probably gave warning signs weeks earlier. The problem is nobody wrote them down. A simple log turns a scattershot of vague complaints into a pattern a technician can actually work with.
You don’t need anything elaborate – a notes app on your phone or a notebook in the garage is plenty. What to record:
- The date and time of any unusual behavior. Note what the gate did – hesitated, slowed, reversed unexpectedly, made a new noise.
- The weather that day. Hot afternoon? Cool morning? This helps separate heat-related issues from electrical problems.
- The cycle count if your operator logs it. Many modern control boards track how many times the gate has opened and closed. A spike in cycling often precedes a mechanical failure.
- Any recent event that could matter. A power surge, a storm, a new vehicle using the gate, a change in access codes, a physical impact.
- What you did about it. Tightened a bolt, lubricated a hinge, rebooted the operator. That context is gold when a technician shows up.
The log does two things. It tells a technician where to look first, which saves diagnostic time on any electric gate repair visit. And it catches developing failure patterns – a gate that hesitates every hot afternoon for three weeks is a gate with a thermal issue, and the log proves it.
For a multi-unit property, keep the log in one place everyone can access. HOA managers and property owners who track gate behavior consistently get faster, more accurate diagnoses than those who just call when the gate breaks.
The Annual Professional Inspection: What It Should Cover
An annual inspection is not the same as an annual tune-up package. A real inspection is a systematic review of the gate’s mechanical and electrical systems, and it should cover specific items you can ask for by name.
What a proper annual inspection includes:
- Control board terminal inspection. Every terminal on the control board should be checked for tightness, corrosion and signs of heat damage. Loose terminals are a leading cause of mid-year failures, and no shortcut checklist catches them.
- Hinge torque verification. Every hinge and mounting bolt checked and tightened to spec. This is the second task most annual packages skip.
- Full electrical check. Wiring condition, connections, ground continuity, receiver function and any safety edge or photo-eye alignment. For automated systems – LiftMaster, FAAC, BFT, Linear, Viking, Ghost Controls, DoorKing, Elite and Mighty Mule – the inspection should be brand-specific, not a generic sweep.
- Motor and operator inspection. Motor assembly condition, drive mechanism wear, battery backup health, and a check that the operator’s force settings and travel limits are correct.
- Gate structure and alignment. Hinges, brackets, posts, frame and alignment. Anything that’s shifted gets flagged before it becomes a failure.
- Safety system testing. Photo eyes, safety edges and reverse-on-obstacle functions tested under load, not just looked at.
An inspection that doesn’t cover the control board and the hinge torque isn’t really an inspection – it’s a look-and-lube. Ask specifically what’s included before you schedule one.
Common Mistakes to Avoid
- Skipping the annual inspection because the gate “seems fine.” A gate that runs smoothly can still have a loose control board terminal or a hinge working itself free. Those issues don’t announce themselves until they cause a failure.
- Using the wrong lubricant. Silicone spray or standard WD-40 on nylon gears can quietly destroy the operator. Match the product to the component and the manufacturer’s guidance.
- Over-greasing chains and screw drives in Roseville’s dusty summers. Heavy grease collects grit and turns into an abrasive paste. Light application, wiped clean, is better than a thick coat.
- Ignoring the battery until the power goes out. A backup battery that’s never been load-tested will fail on the one day you need it. Test it twice a year.
- Not writing anything down. Without a log, a developing failure looks like a one-time glitch. You lose the pattern, and the technician starts from scratch.
- Assuming a fence contractor or general handyman covers gate maintenance. Gates are their own trade. Control boards, safety edges and brand-specific operator logic need someone who works on gates specifically.
- Putting off the June and October checks. Those two months are when heat expansion and post-summer wear surface. Missing them means catching problems later, when they’re more expensive.
See the difference
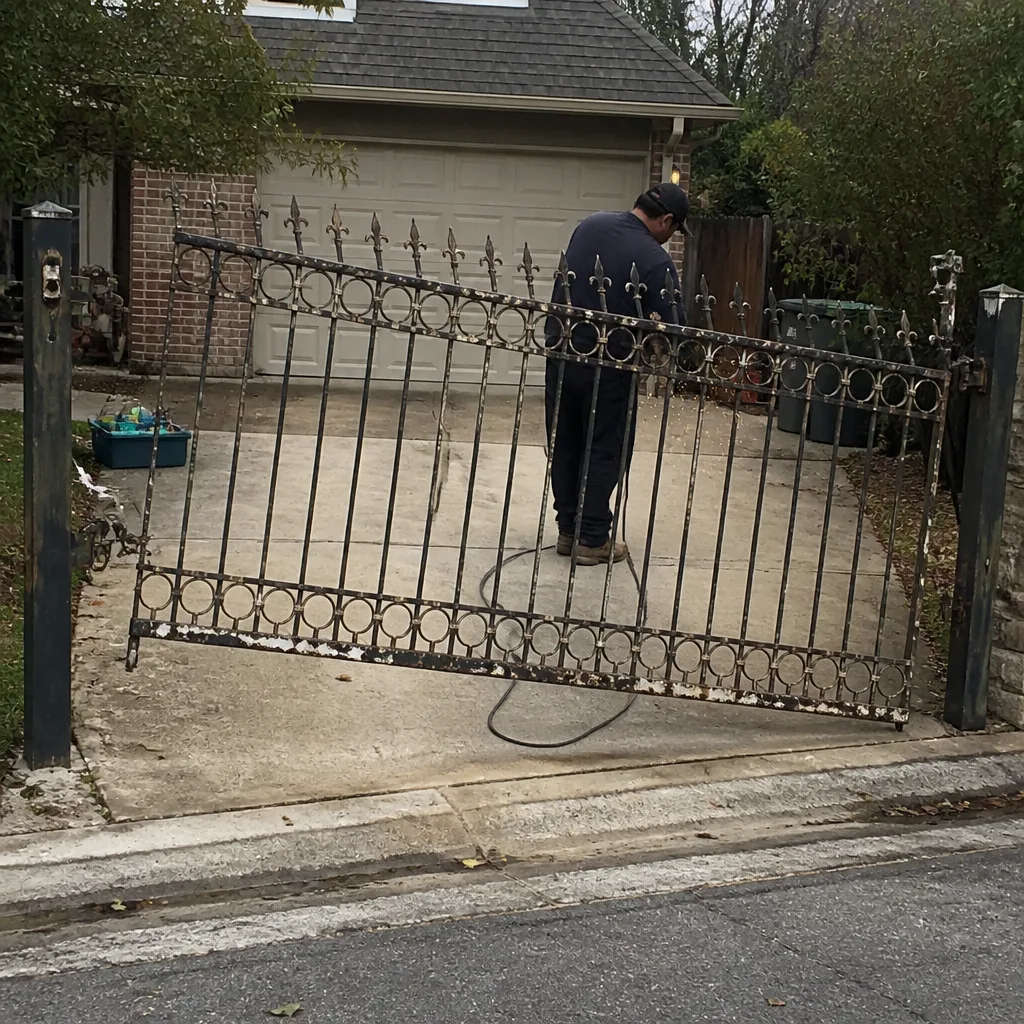 Before
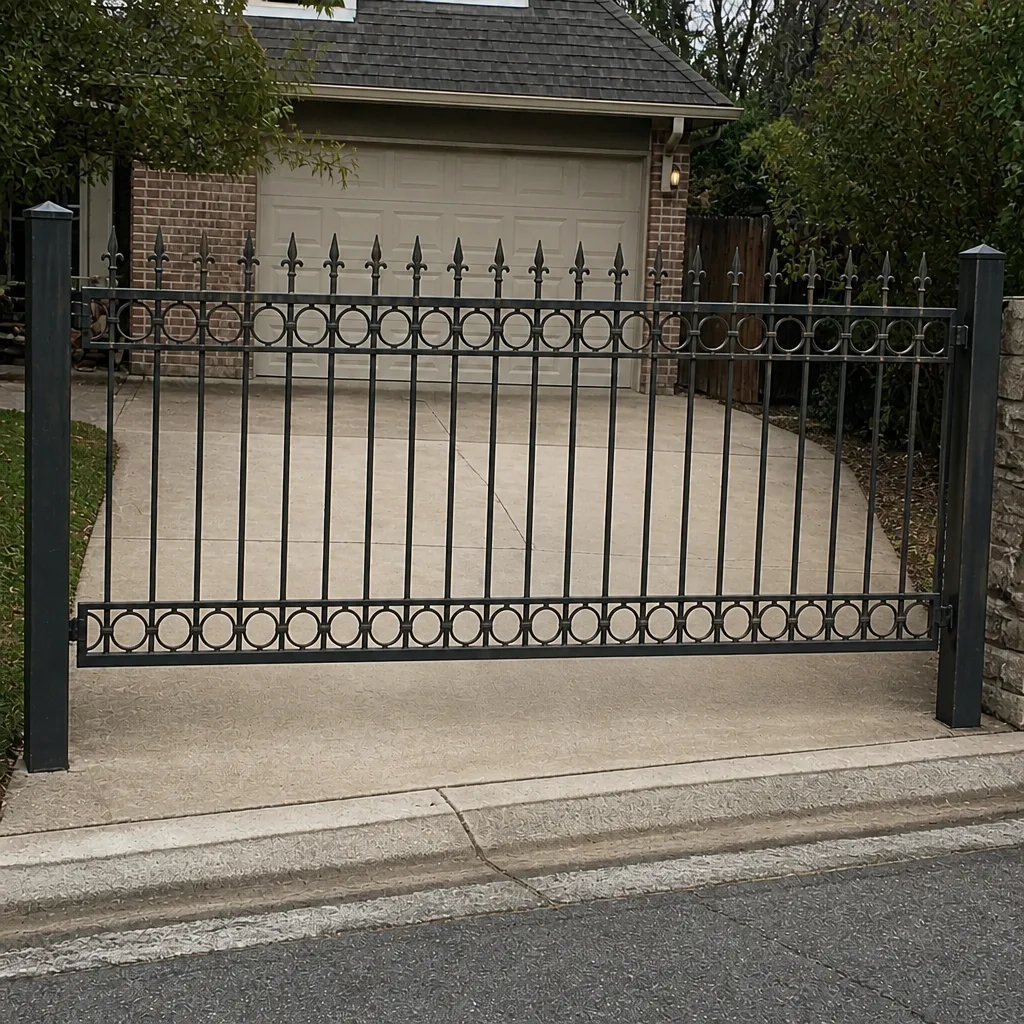 After
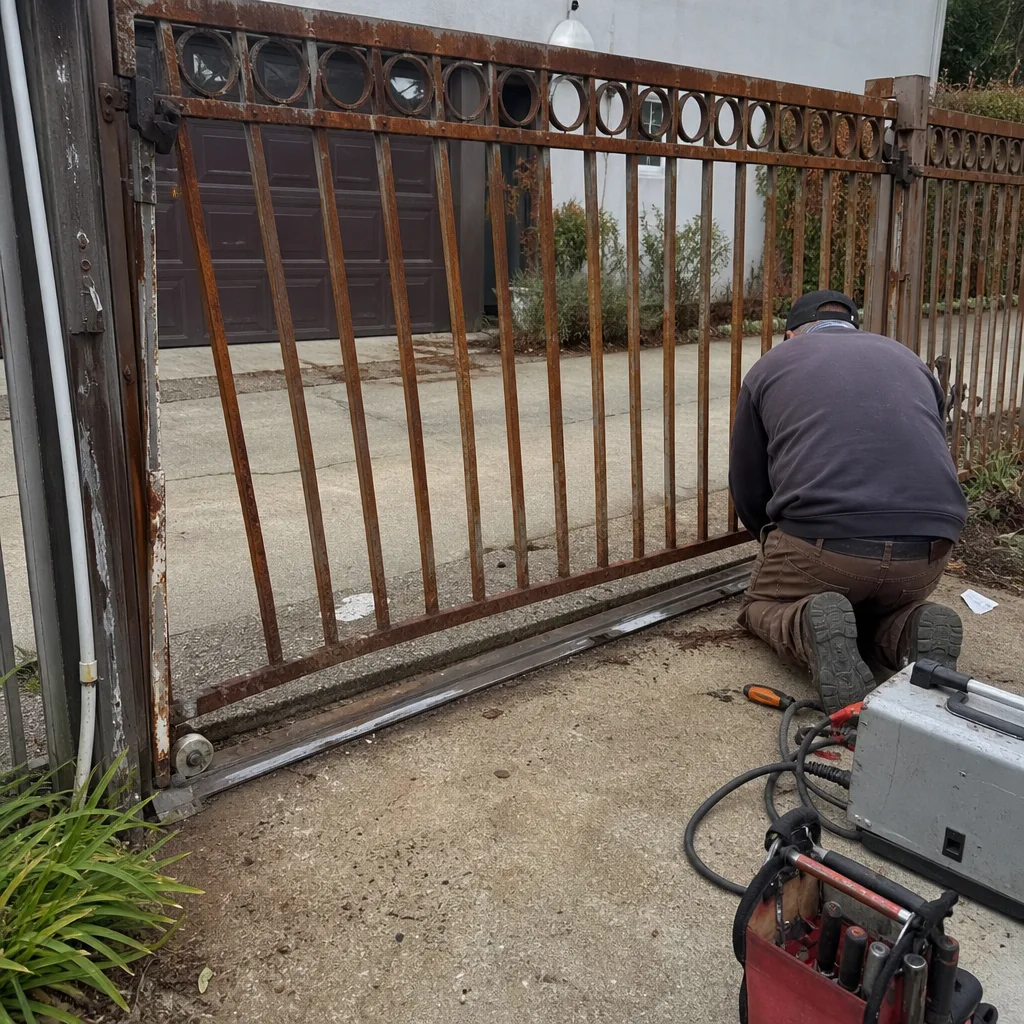 Before
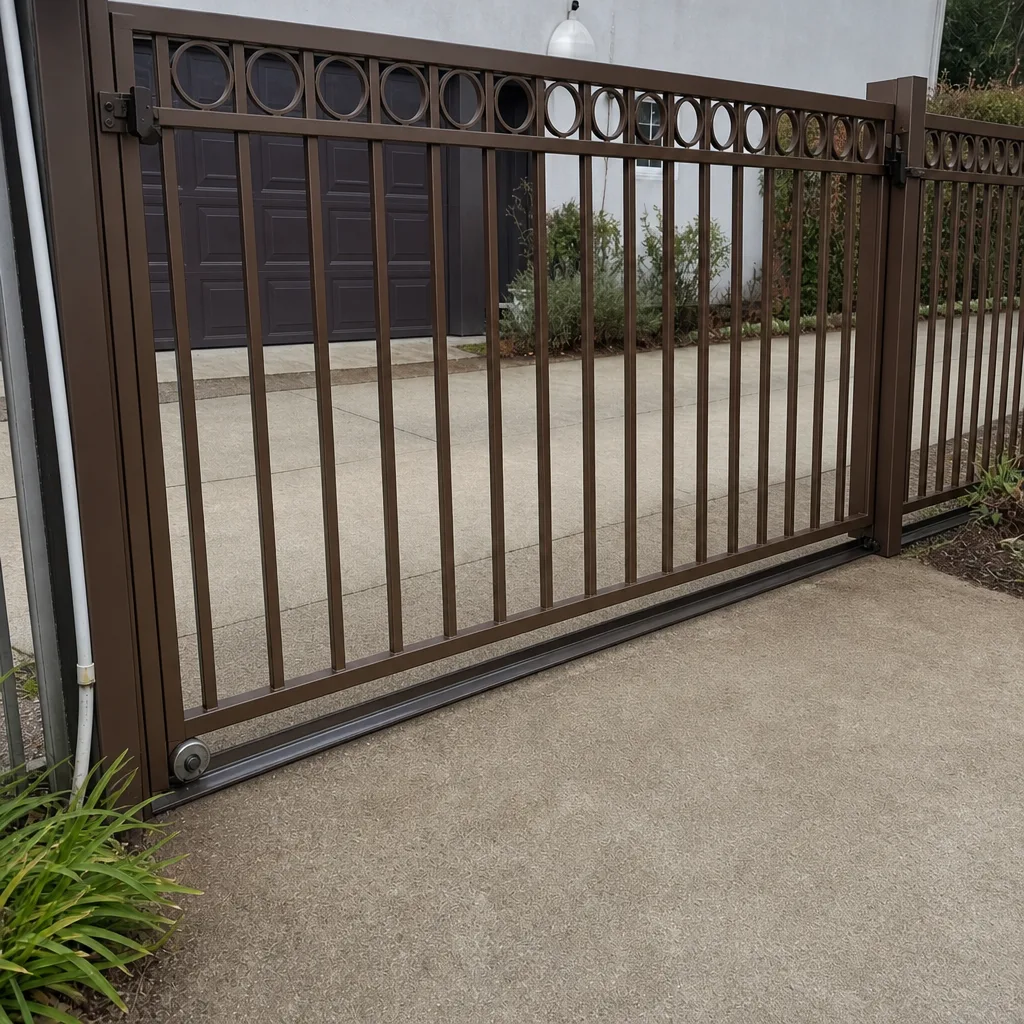 After
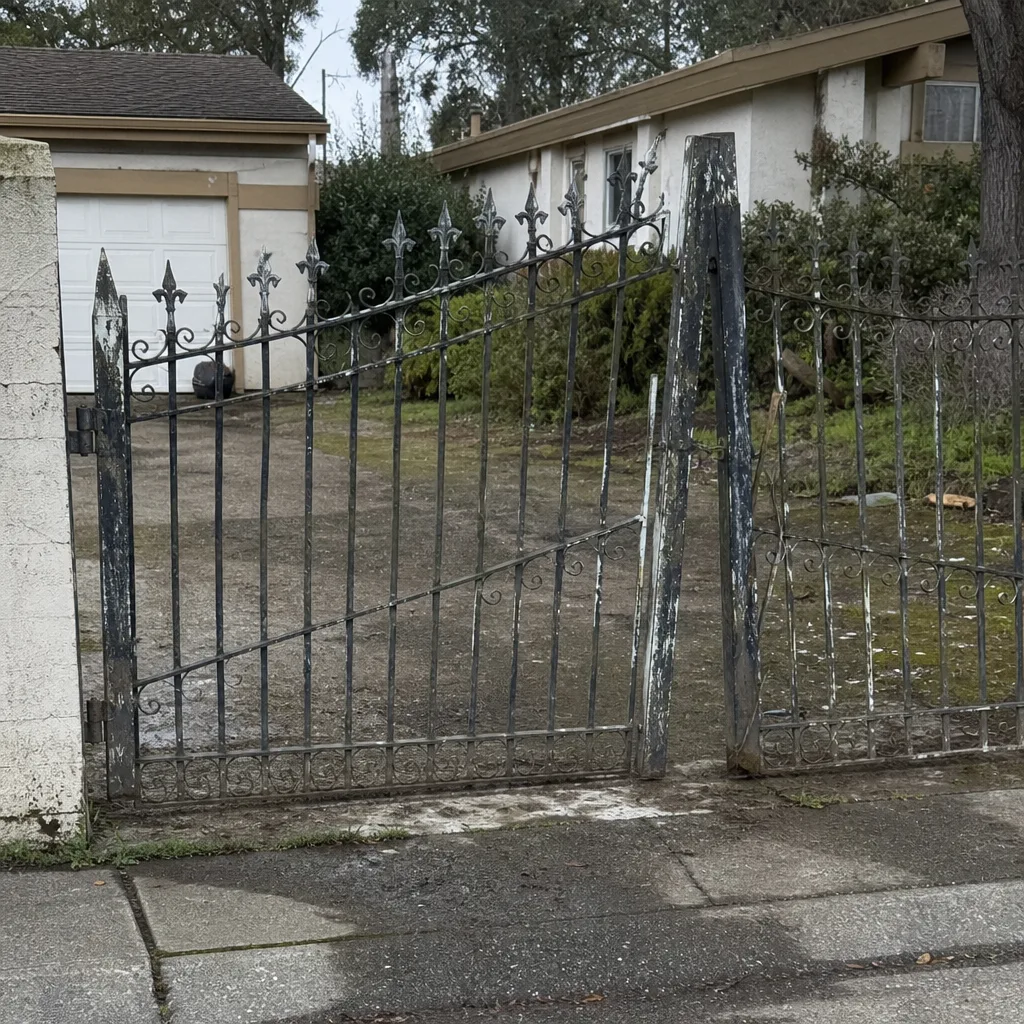 Before
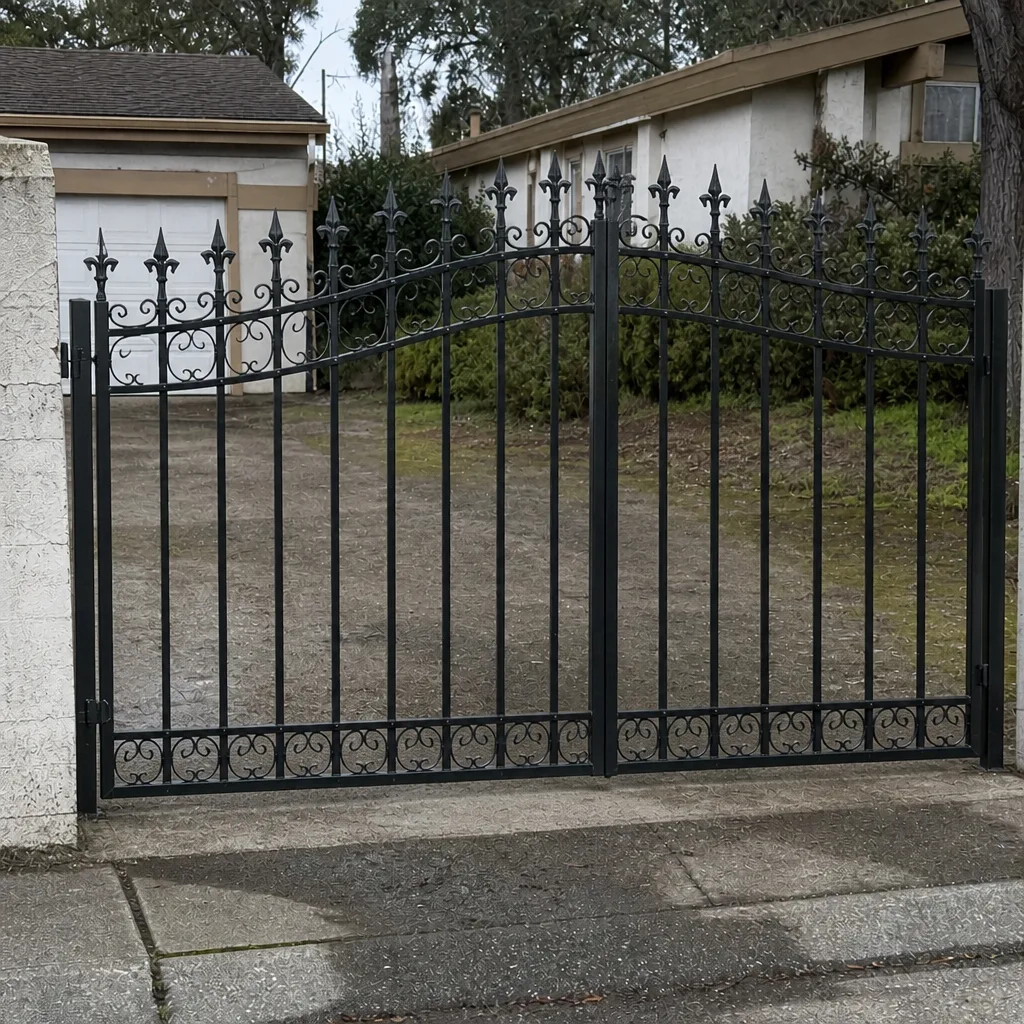 After
When to Call a Professional
Some maintenance belongs in your hands. Some doesn’t. Call a technician when the gate won’t reverse on an obstacle, when the operator trips a breaker or shows a fault code, when you see a hydraulic arm leaking, when a post has shifted, or when the gate hesitates or stalls during a cycle. Those are safety and electrical issues, not maintenance tasks. Any work involving the control board, the wiring or the operator’s main power supply should be handled by a trained professional – the voltages involved are dangerous, and a mistake can damage the operator or create a hazard.
For anything you’re unsure about, an inspection is the right first step. Gate Repair Roseville offers free estimates in Roseville – call (855) 431-0356. We answer 24/7, with fast dispatch from 7am to 7pm, Sunday through Friday. Our technicians have up to 15 years of experience, and our brand-neutral approach means we work with the system you already have. You can read more about our full range of services on the Gate Repair Roseville home page.
Frequently Asked Questions
A residential gate should get monthly owner checks, quarterly mechanical tasks and one annual professional inspection. Commercial or HOA gates that cycle dozens of times a day should get the professional inspection twice a year. Roseville’s hot, dry summers make the June and October checks especially important because heat expansion and dust both put extra stress on moving parts.
Control board terminal inspection and hinge torque verification are the two tasks most annual tune-up packages leave out, and they account for the majority of mid-year emergency calls. A loose terminal or a hinge working itself free will take a gate down faster than a worn roller. Both should be on every annual inspection.
You can handle routine lubrication if you use the right product for each component. Chain drives need chain-specific lubricant, screw drives need the manufacturer’s specified grease, and hinges need a quality multipurpose grease. Avoid silicone spray and standard WD-40 on nylon gears – they can degrade the plastic. If you’re unsure what your operator needs, ask a technician. Call (855) 431-0356 for an exact quote – estimates are free.
Replace the battery on the interval your operator manufacturer specifies, not when it fails. Between replacements, test it twice a year by disconnecting main power and running the gate through one full cycle on battery alone. If the gate slows or stalls, the battery is failing. Roseville’s summer heat accelerates battery aging, so the load test matters more here than the manual suggests.
A proper annual inspection covers control board terminals, hinge torque, wiring and connections, motor assembly, safety edge and photo-eye testing, battery backup health and gate alignment. For automated systems, the inspection should be brand-specific – a LiftMaster operator and a DoorKing operator need different diagnostic logic. An inspection that only lubes and looks isn’t a full inspection.
Roseville’s long, hot, dry summers create specific maintenance needs: heat expansion puts stress on hinges and alignment in June, dust and grit collect in tracks and around moving parts, and batteries age faster in the heat. The three-tier schedule in this guide is built around those conditions. Following it consistently prevents most of the failures we see.
The Bottom Line
Gate maintenance isn’t a once-a-year appointment – it’s a layered schedule where mechanical parts, electrical components and seasonal stressors each run on their own clock. Five-minute monthly checks catch the obvious. Quarterly mechanical tasks keep hardware tight and moving parts free. The annual professional inspection catches what the other tiers can’t: control board terminals, hinge torque, wiring, battery health and safety systems. In Roseville, build extra attention around June and October, log what you see, and use the right lubricant on the right component. That framework prevents most mid-year emergencies. When something falls outside the routine, call a specialist. Gate Repair Roseville handles repair, electric gate repair and installation under one roof. Call (855) 431-0356. We answer 24/7. Fast dispatch from 7am to 7pm, Sunday through Friday.
Written by the team at Gate Repair Roseville.